Showing posts with label Tutorial. Show all posts

Friday, September 8, 2017

Field Grasses by Lynne Forsythe

UmWowStudio Tag ~ Delight by Lynne Forsythe

Hi UmWowStudio Fans!!!
Thank you for stopping by the blog today.


I am excited to be sharing my latest creation using

UmWowStudio Tag ~ Delight by Lynne Forsythe

Last week, I was having a creative crisis
and I chose to challenge myself by using items
I picked up off my studio floor.
Well, I had more 'TOVERs, so I chose to make another tag!

UmWowStudio Tag ~ Delight by Lynne Forsythe

I wanted to share with you how I altered the chipboard,
Here is a quick video.


UmWowStudio Tag ~ Delight by Lynne Forsythe


I hope you enjoyed my tag and my quick tutorial!!

Friday, August 5, 2016

Golden Artist Trading Cards - tutorial


Hello friends!
Today I would like to show you photo tutorial
for the set of golden Artist Trading Cards.

I used:


Step 1: I covered a few pieces of trimmed cardboard with the layer of gesso.


Step 2: I added a piece of old book's page to each ATC.


Step 3: I added a layer of gesso on the top through the handwriting stencil.


Step 4: I covered the pattern from a stencil with golden
embossing powder and I dried it with the heating tool.


Step 5: I covered edges of each ATC with embossing ink and yellow embossing powder.


Step 6: I added a bit of pink with a pink gelato (just to break the pure "gold").


Step 7: I added golden shimmer with a few layers of golden spray mist.


Step 8: I added hexagons on the top (make sure that the surface is dry!).
I added brown stamping and liquid pearls.
In the end I added some string and a few drops of glossy accents.


And voila :) 


Friday, May 20, 2016

Love by Kareen


Hello to all of you!

Today, I present you a layout with a technique that I like a lot.
I used my chipboards as a stamp. And then used them on my layout.

So here my page to see how it looks!


Here a video of how I create my layout : 


For my layout, I used : 


Thanks for watching! 


Wednesday, August 12, 2015

Mixed Media Layout + Start to Finish Tutorial by Kris Berc

Hello UmWowStudio fans!  It's Kris here today to share my very first project as part of the new creative team.  I thought it would be fun to include a start to finish tutorial for you- I hope you enjoy it :)

I had lots of fun playing with UmWowStudio goodies to create this layout of my daughter with her cousins.  Those girls can really lay on the sass haha!

Here are the steps to create this layout:

Choose a photo and set it down on your background paper in the area where you think you will adhere it.  Once you're satisfied with the location of the photo, use a pencil to draw some random circles around it (do not adhere photo yet).  Next, select some chipboard pieces from the Arrow Title Mash! set and set them down in various places on the page to get a general idea of your design.

 Place the selected chipboard pieces onto a craft mat.

Use a paint brush to cover the chipboard pieces with white gesso, then set aside to dry.

 Layer six pieces of patterned paper.  When satisfied with the arrangement, staple the layers together.

 Time to add color!  Prep the background paper by applying a layer of clear gesso onto it (this step not shown).  Let dry.  Then use sprays/mists to build layers of color on the background paper.  It's important to let each color dry completely before applying the next color.  I like to start with light colors followed by dark colors, so I used light purple first, then dark purple, followed by light blue, then a darker blue, and finally a light green followed by a darker shade of green.

Apply super heavy gesso through the Circle Confetti Stencil as shown; let dry.

 Time to add color to the chipboard!  Use clear embossing ink with coordinating colors of embossing powder and a heat tool to customize those awesome chipboard pieces.

Now you can glue everything down!

 Here's another look at the completed page.  As you can see, I left the "this happened" Arrow Title Mash! chipboard piece and the Damaged Punchinella Background chipboard pieces white.  I love the contrast!

Some closeups:

 I tucked a fun piece of flair, "be an adventurer", from the Oh The Places You'll Go Flair set, into this embellishment cluster.

 This is a closer look at the yummy dimension achieved with a piece of the Damaged Punchinella Background chipboard and gesso through the Circle Confetti Stencil.

 Here's the heat embossed arrow, heat embossed chevron, and gesso'd title piece from the Arrow Title Mesh! chipboard set.

 This is the balancing cluster on the lower left of the page.  More stencil work topped with a punchinella piece.

 Heat embossed chevrons and gesso'd punchinella piece on lower right of page.

and those sweet, yet sassy, girls!

I hope you'll give some of these products and techniques a try!

UmWowStudio products used:
Arrow Title Mash!
Circle Confetti Stencil
Damaged Punchinella Background
Oh The Places You'll Go Flair

other products:
patterned paper: Maja Design
flowers: Prima Marketing
sprays & embossing powders: Lindy's Stamp Gang
distress ink: Ranger

Wednesday, April 15, 2015

"Leftovers" card

Hello :)

Today I would like to show you, how I created my card.
I used some small pieces of paper, they are leftovers from my other projects -
so sometimes I'm making "leftovers" cards :)
They are great for any occassion and don't need any special preparations.
My card is just an example how to compose few items into one nice card :)


We need:
 - cardstock base (kraft one);
- few pieces of paper - as we wish;
- some chipboards;
- some flairs;
- self-adhesive tape (two sides);
- 3 D foam squares


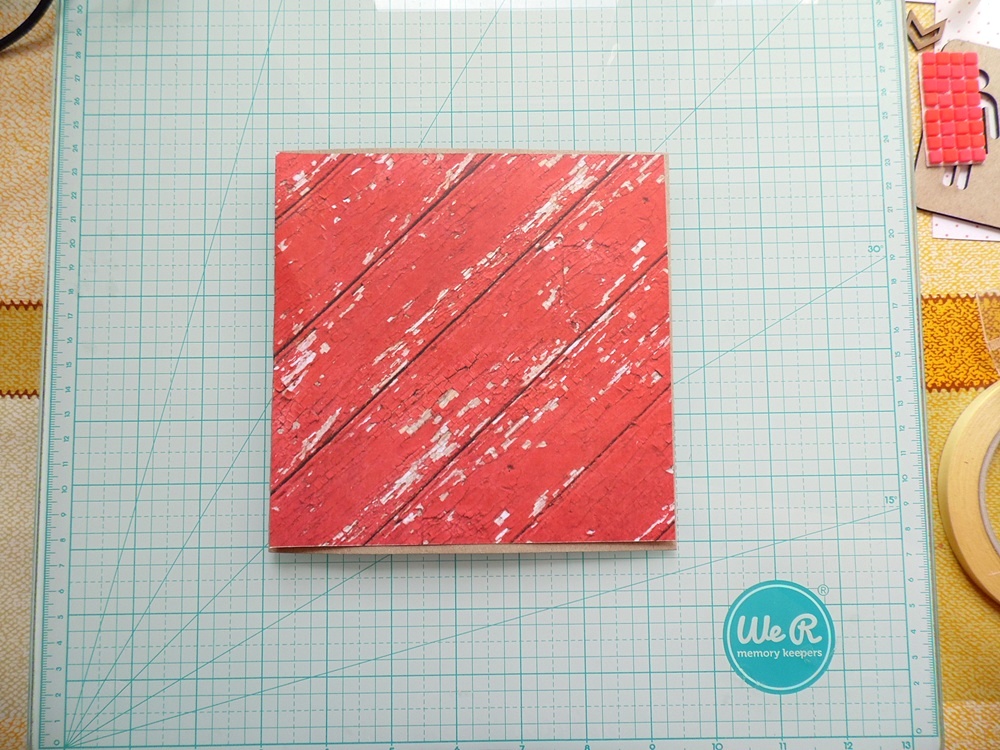
Step 1: I adjusted my color paper to the size of my kraft base.


Step 2: I adjusted another piece of paper to this one from background.
It's a bit smaller. It makes an interesting contrast.
I've bended edges of both papers. I've torn it in a few places.


Step 3: I've glued my chipboard into few pieces of paper
 with glue and 3D foam squares to give it some dimention.


Step 4: Now it's time to compose my card. I've added some white thread.


Step 5: I'm adding some 3D foam squares under a flair button.


Step 6: I've glued some chevron chipboards and a flair button.


Step 7. In the end I've added some accents with liquid pearls and few mosaic pieces.
Now it's time to fit my card into cardstock base.


UmWowStudio products used:


Have a lovely day :)

JaMajka