Showing posts with label doilies. Show all posts

Friday, February 9, 2018

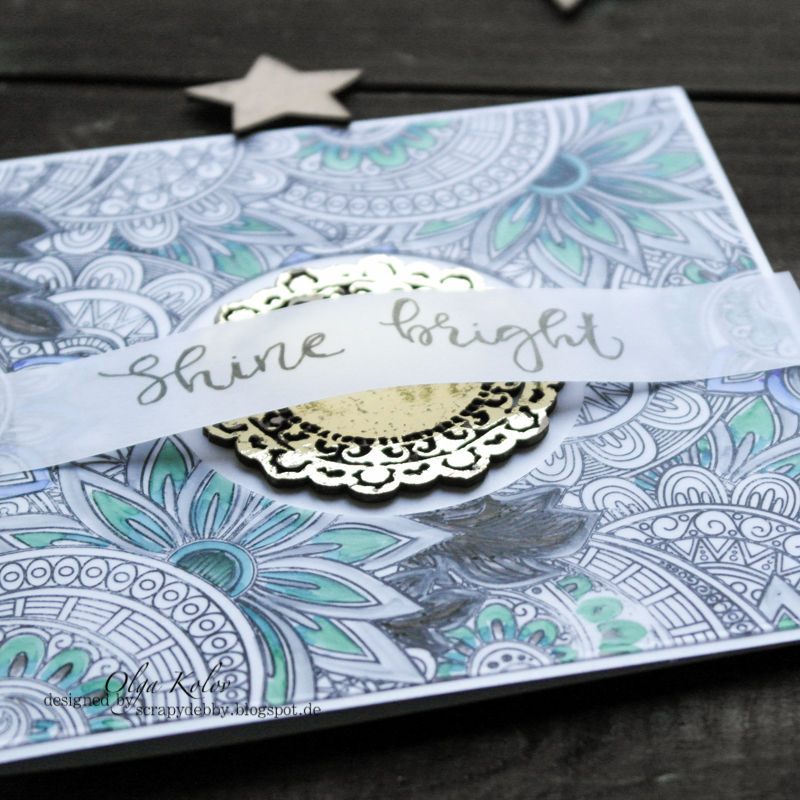
Shine Bright Card

Hello friends of UmWowStudio!

I'm here today to show you my newest project. And it's unusual projekt for UWS. It's not mixed media ;) I have colored and handlettered and foiled ;)

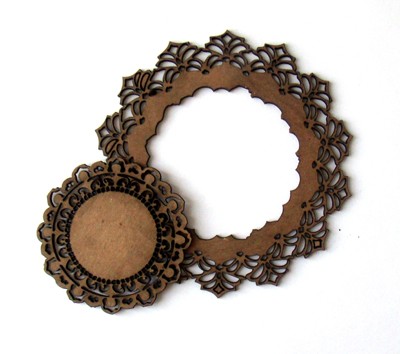
My card is stamped on a vellum and particular colored with alkohol markers. The doily chipboard was foiled with gold transfer foil. I have written the sentiment on vellum and glued on my card. That's all. But pretty... Isn't it? Just other view on UWS chipboard. Try it, it's funny!


Supplies I used:

Doilies
Stay creative!

Wednesday, August 30, 2017

Gift Box "HOPE" by Olga


Hello funs of UWS!

I'm here today to share my inspiration with chipboard doily from UWS.


I have covered the surface of the box and chipboard with chalky vintage paint and wiped with a wet tissue.


Supplies i used:


Stay creative!

Friday, April 28, 2017

Dreamer of dreams


Hello everyone, 

For my post today I have made an art journal page. 


I used a piece of pattern paper which I had lying around for ages. I just wanted something that was not too dark. 
First I'll show you what I did with the chipboard.


I decided to use my Verday paints and spray. I used copper in this case.


I painted on the copper paint using a normal paintbrush and dried it. 


I then added a second layer and while the paint was still wet I sprayed the oxidation spray on it.. 


Here you can see how it is starting to react. 


And here is what it looks like when the oxidation is complete. 


Here is a close up of the dreamer. 


and another one. 


I think he looks really fun with his crown ! 


And here is the finished project. I used model paste and a stencil, a die cut doily, Lindy's inksprays, a few rubber stamps and some sari ribbon. The dreamer is a Tim Holtz image which I cut out. 


I used the crown from this set. You will find it HERE. 


Thank you for stopping by today ! 

Friday, March 10, 2017

Discover by Kareen


Hello creative friends!
Here I am with a layout 12 x 12! I can't wait for the summer, I mean really!!
So I decided to do a layout of the beach..beach... I missed beach so much!

I embossed the Netting background. And for the Doilies, I inked it with
the rainbow 13 arts and white Irresistible. 

So here it is : 

Some close-ups : 


I used : 

See you next time!


Friday, February 10, 2017

Amazing by Kareen


Hello UmWowStudio's Fans!!

I'm back again with this layout.
It's winter here in Quebec and I missed the sun and summer! 
So, I needed to do a page soft and with...no snow on it! ahah

Here is my layout : 

Some close-ups : 


I used : 


See you next time!


Friday, November 11, 2016

La ferme du Cap Saint-Jacques by Magali

I am so happy to be with you today, to share a layout I've made about my youngest son.
He's an animal lover... he absolutely adore them, each of them (with a little preference for horse and donkey but this will certainly be a story for another layout).
We have the chance to live near a farm on the island of Montréal. It's located in a big nature park, so that always a pleasure to go there to walk. Almost each day of the week, my little one asks us when we'll go to the farm... each day!
Sometimes, we go 4 or 5 times a week... sometimes we have to many other things to do and he needs to wait. But every single time we go there, as soon as are in the car to go back to home, he asks again "when will we be back?". That's crazy!


 For this layout, I've used the following products:


Thanks for stopping by!
Magali


Monday, May 9, 2016

Vole by Magali Le Luc

Happy to see you here today!
I want to show you my last creation made with 7dots papers and the fantastic UWS products.
As you are now used to see it, I love to leave the chipboards in their natural colors. I simply LOVE their natural wood color.
Here are some close ups, which will help you to see how I layered the different elements in this layout. I choose a sepia picture to keep consistency with the natural color of the chipboards.
Have you seen these wonderful chevrons? They can be perfectly layered to create your own personal effect.
You may have noticed a doily too... I cut it into two parts and place it at the top and bottom of the picture. As my title means "FLY", I added a little butterfly as a reminder of it. I've also used the bee card from 7dots Studio.
See, the doily here...
Here are the products I used: