Showing posts with label star confetti. Show all posts

Friday, January 12, 2018

Bad Ass B!tch - Mixed Media Canvas

Hey guys -- DeeDee here today sharing an INCREDIBLE mixed media canvas that I just happened to receive... as a GIFT this Christmas!

Oh yes.. you read that right.. this little beauty is ALL MINE. Created by a dear local friend > Tina Wacker (Christine.) I don't have many details, but we can all admire it's beautiful textures & layers. I chose this blog to put it on because in all her delightful layers she's included LOADS of UmWowStudio chipboard.


Thursday, July 27, 2017

Gold Notebook with Olga


Hello friends of UmWowStudio!

Today i want to share with you my new notebook with gold covers. This is very simple notebook. i have made it with craft pages, craft covers and craft chipboard. The gold paper i have cutted with my cameo. this paper is very thick so the pattern can stay on the sheet. So check it out!


Supplies i used:

Fortune Teller MASH

Home Grown MASH

Star Confetti


Stay creative!

Monday, March 20, 2017

Love by Kareen


Hello UmWowStudio's Fans!!!

So, today, it's my last post on the blog.
I'm leaving this beautiful adventure and I want to say
a big thank you to Dee Dee for her trust in me!

So, for my last publication, I present you a layout and a video!
Hope you will enjoy it!!!

But first, here is my layout : 

Some closes up : 


Here is the video : 


I used : 


See You Next Time! xx


Monday, March 6, 2017

Man in the moon

Hello everyone,

and welcome to my blogpost where today I have a tag to share with you :


I have used 7Dots paper from the Writer's block series for this. I glued some pieced to a #10 tag and scraped gesso and Art Anthology Sorbet paints over it. I also added some shading with a distress Crayon. 

Here's how I treated the chipboards.


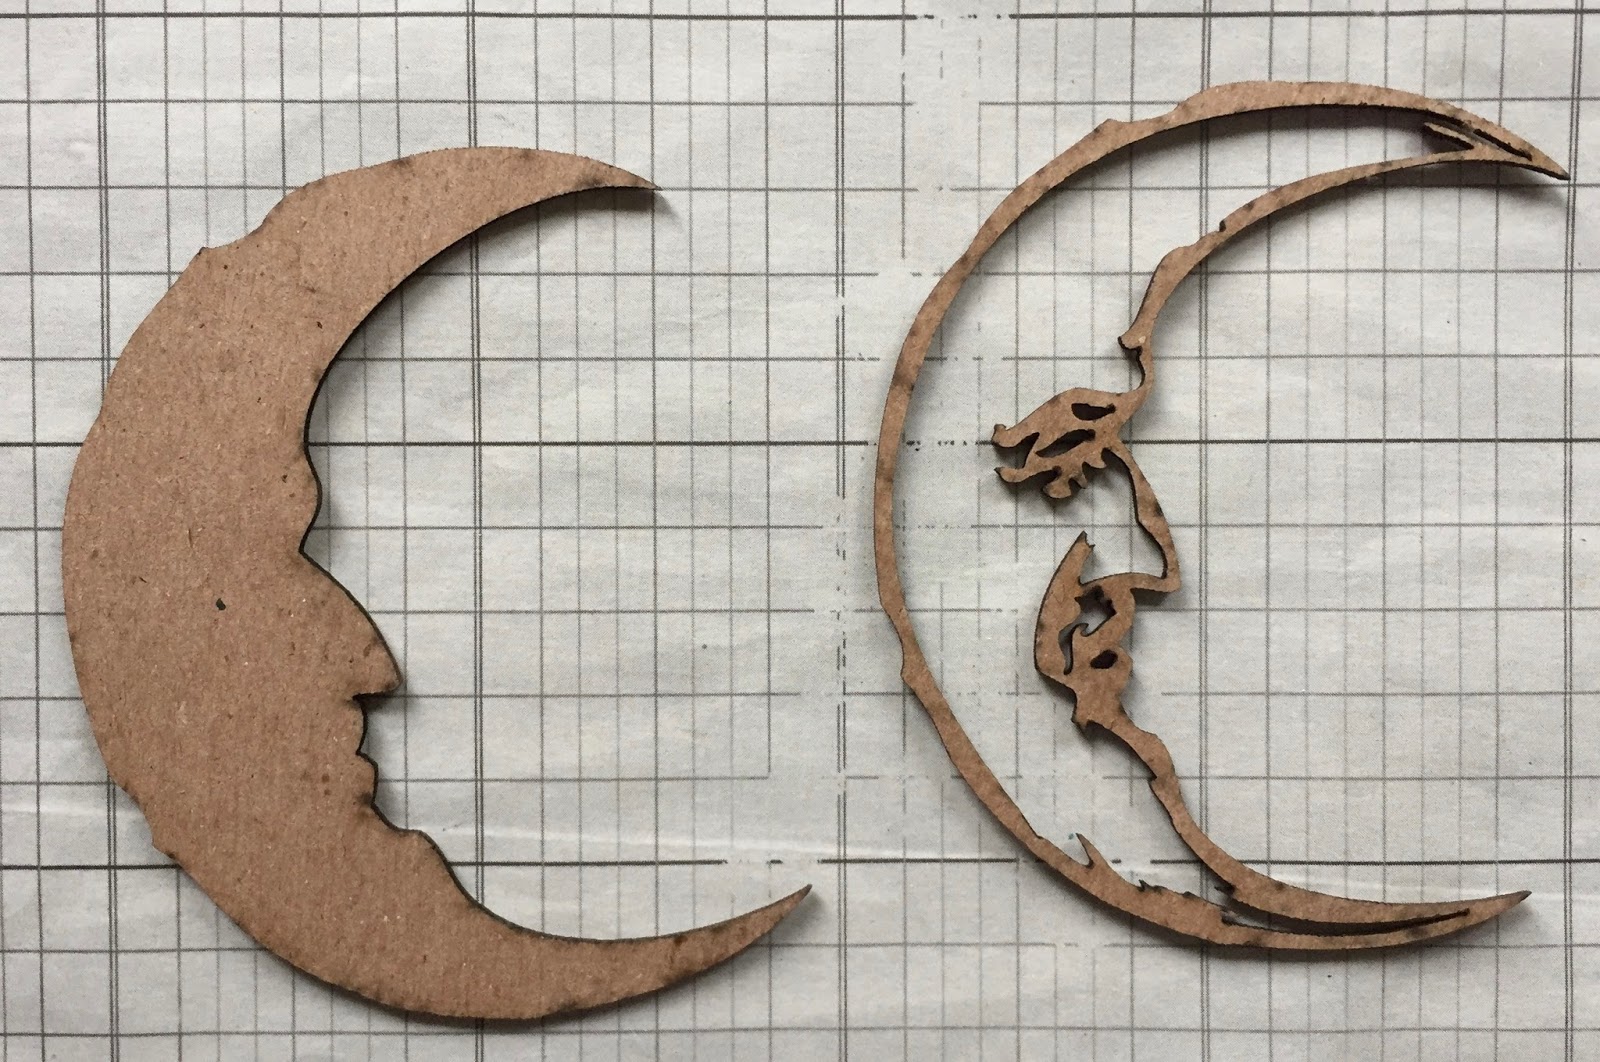
I used the man in the moon for this..


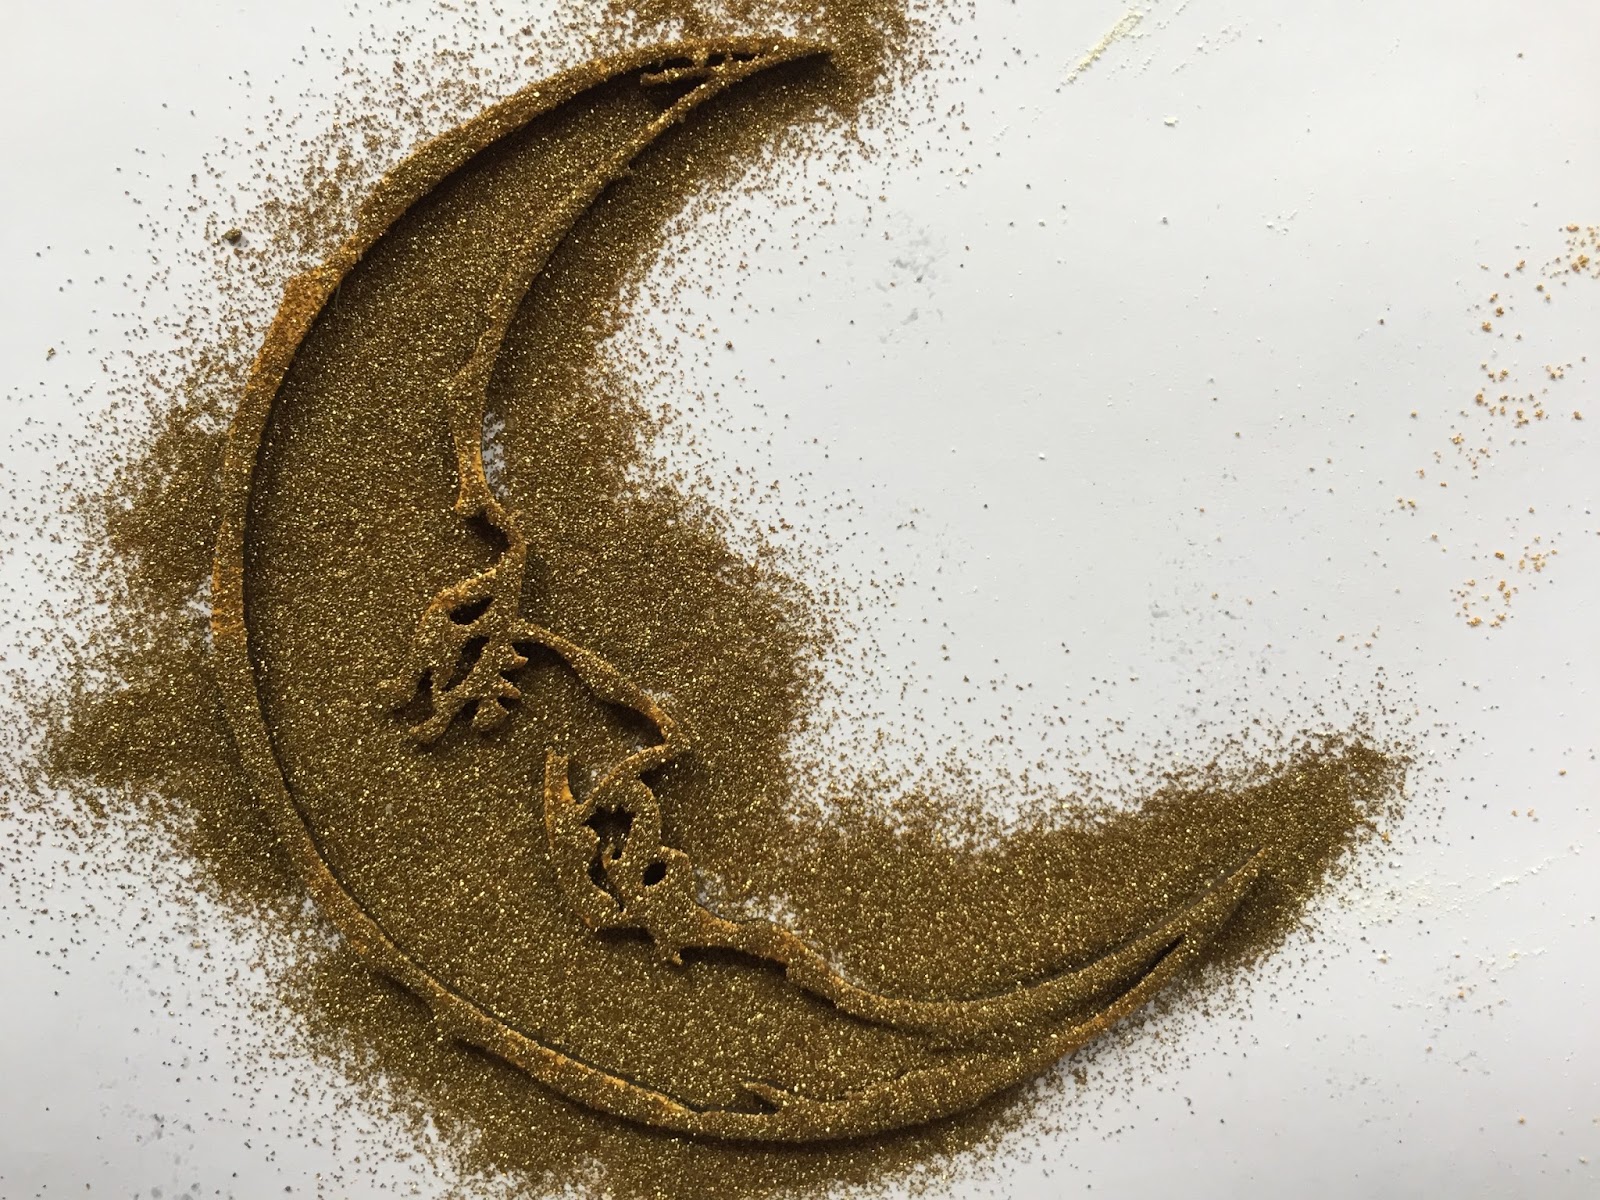
I heat embossed the solid piece with a light yellow embossing powder. I added two layers. 


In the end I thought it was too yellow and I added some shading on top with a Big Brush Marker. 


For the outline I also heat embossed this but used an ochre yellow and then also decided it was not quite right so I added some gold over the top. 


Here you can see them together... 


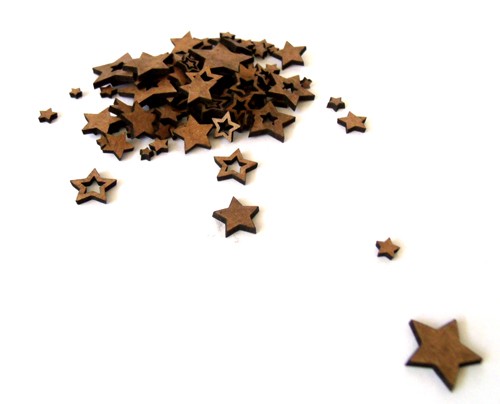
I had these stars left over from another project. They were gessoed and heat embossed with a holographic embossing powder. They have a lovely glittery finish. I added some brown Big Brush Marker here and there to vary the colour a little. 


And here you can see it all put together... I added some bandage which I stapled on and added some embroidery stitches. I used the same fabric at the top as a ribbon. The sentiment is from an old sticker set from 7Dots Studio called destination unknown. 

I have used these Chipboards:


Thank you so much for stopping by today ! 


Tuesday, December 20, 2016

trust the magic by Monika

Hello Dears!

I thought I'd share a new layout that was so much fun to create and that I hope will make you feel inspired! In my project I was trying to capture the "cold and frosty" feeling. 


I used:

Dahlia Stencil
Star Confetti

Thursday, October 13, 2016

A creative Bunny Trail by LynneF

Hi UmWowStudio Fans.....


I LOVE creative bunny trails.

You know...
when you have a creation in mind
and you get to a certain point and you say....
WHAT IF....
and head in a totally different direction!!?!?


I did JUST THAT with this project.....
.....it all began with me pulling out my box of
UmWowStudio chippies!!

There were a bunch of odds and ends that had escaped
from their packaging, in the bottom of my box,
so, I pulled out a black cardboard box from my stash...
and adhered the pieces parts to the lid with
Multi Medium ~ Matte.

Let's see.....I used.....
Puzzle Mash
Star Confetti
Gear Mash
Sketchy Hearts Mash
Floral Collection
pieces from Grid Border
Home Grown Mash
(I think that covers them all!!)


....this is where the WHAT IF moment happened.
I thought....what if I used my newly adorned lid as a stamp??
So.....I pulled out some paint, a brayer and a piece of cardstock
and let the stamping begin!!


.....and then the bunny trail ensued!
I spritzed a bit of Glimmer Mist
lathered on some gesso, spritzed more Glimmer Mist
and added a bit more paint....


Then I thought.....what a GREAT card
the "new paper" would make!!!
So, I went back to my UmWowStudio box
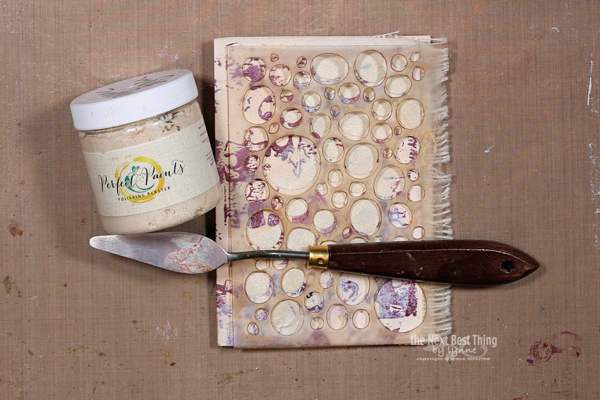
and pulled out my Wonky Circle Stencil
and applied some Polishing Plaster through it!


When my card was dry....I spritzed it with
MORE Glimmer Mist and
smeared on Aged Copper paint with a palette knife.


When it was dry, I traced around a few of
Then, with a paint brush, I applied a bit
of Multi Medium ~ Matte
and added a few Micro Beads.


Here is my finished card.....


To finish off my card, I painted
the "verbage" Heart from the
and a Heart from


Now, BACK to the original project....
(sorry.....I neglected to take photos of this process!)

I lathered on a layer of White Crackle Paint...
when dry I spritzed the lid with
various Glimmer Mists
until I achieved my desired look.


I used the remaining "new paper" to cover my lid and box.


And finished it off with a Garden Rosette, colored to match,
along with a leaf from the
Home Grown Mash collection
and a bit of vintage lace.


PHEW.....what a GREAT Bunny Trail that was!!!

Hope you enjoyed it at much as I did and
that you end up on a creative Bunny Tail too!!

Other Products Used:
Tattered Angels ~ Glimmer MistAmethyst
Hemlock Green
Crushed Shells
Navy Blue
Kraft
Mountain Mist

Canvas Corp Brands
Ivory Cardstock

Perfect Paints
Shimmering Matte Acrylic
Sangria
Aged Copper
Polishing Plaster ~ Organic Sugar

DecoArt mediaWhite Crackle Paint

RangerMulti Medium ~ Matte

PetalooDIY Garden Rosette