Hello :)
Anai here with my first UmWowStudio post.
Today I'd like to show you mini album I made with a "Nature Walk" collection and some other UmWowStudio supplies.
"Nature Walk" is a very beautiful collection with a lot of elegant images and a little vintage feeling.
All the elements match together perfectly, so making this album was easy and the result is in my opinion very elegant.
I used almost all the elements from the collection - papers, stickers and die-cuts.
Then I added some chipboards. I really love our mini "confetti" chipboards - they can be used in so many different ways!
I used white acrylic paint to soften their color just a little bit and then added Silks Acrylic Glaze on top. The effect is just stunning :)
I also used Star Confetti Mask with the molding paste.
As you can see stars are small, cute, very sharp and they match the whole design perfectly.
There are 10 5x5 inches pages inside my mini album. Every one of them is decorated with a "Nature Walk" papers.
I just simply cannot wait to go on some spring walk in my city to take
some photos and put them in the album together with this beautiful
collection.
Anai
UmWowStudio Supplies:
Nature Walk Musical Blooms 12x12 Paper
Nature Walk Songbird 12x12 Paper
Nature Walk Winged Vines 12x12 Paper
Nature Walk Gray Day 12x12 Paper
Nature Walk Cotton 12x12 Paper
Nature Walk Cloudy 12x12 Paper
Nature Walk Diecut Tags
Nature Walk Diecut Elements
Nature Walk Elements Stickers
Nature Walk Words Stickers
Hexagon Confetti
Gear Mash
Star Confetti Mask
Love Notes Flair
other supplies:
Distress Ink "Vintage Photo"
Claudine Hellmuth Studio acrylic paint "Blank Canvas"
Liquid Pearls "Buttercup"
white Ecoline paint
Silks Acrylic Glaze "Golden Monarch"
Silks Acrylic Glaze "Coral Berry"
Tuesday, March 11, 2014
"Remember this" - mini album
Labels:
7 dots studio,
Anai,
mini album,
Nature walk,
vintage
Sunday, March 9, 2014
Love Everyday...
Hello and Happy Sunday!
Tina here today with my take on the March Sketch!
Did you know you can create any type of project with the Sketch? A Layout, a card, a tag, or even an Art Journal page.
I have been in an Art Journal mode lately, so I thought I'd use the March Sketch as a jumping off point for my page.
Here's the sketch.
When using sketches, there are usually several design elements that I use as a starting point. For my Art Journal page, I loved the large rectangle grid and small circle elements, so I used both of these on my page.
Instead of using a photo inside the 'grid', I filled my rectangle with Circle Confetti, painted and sprayed to match my background. I wanted a bit of color inside the circles, so I added watercolors to a bit of POP!
I also wanted more of a visual impact with my grid, so I used Heart Strings covered in several layers of paints and sprays. I really love the texture it adds to the page. I also love how the Circle Confetti peeks through this. Great look!
Lastly, I used a piece of Moonshine Flair, for the large circle element next to the title. The entire page flowed with geometric design and symbols.
Be sure and link up your March Sketch projects for a chance to win some UmWowStudio goodies!
Thanks for stopping by! Have a great day!
Tina
Tina here today with my take on the March Sketch!
Did you know you can create any type of project with the Sketch? A Layout, a card, a tag, or even an Art Journal page.
I have been in an Art Journal mode lately, so I thought I'd use the March Sketch as a jumping off point for my page.
Here's the sketch.
When using sketches, there are usually several design elements that I use as a starting point. For my Art Journal page, I loved the large rectangle grid and small circle elements, so I used both of these on my page.
Instead of using a photo inside the 'grid', I filled my rectangle with Circle Confetti, painted and sprayed to match my background. I wanted a bit of color inside the circles, so I added watercolors to a bit of POP!
I also wanted more of a visual impact with my grid, so I used Heart Strings covered in several layers of paints and sprays. I really love the texture it adds to the page. I also love how the Circle Confetti peeks through this. Great look!
Lastly, I used a piece of Moonshine Flair, for the large circle element next to the title. The entire page flowed with geometric design and symbols.
Be sure and link up your March Sketch projects for a chance to win some UmWowStudio goodies!
Thanks for stopping by! Have a great day!
Tina
Labels:
art journal,
circle confetti,
heartstrings,
Moonshine Flair,
Tina Walker
Friday, March 7, 2014
Creating Your Own Project Life/Pocket Scrapbooking Cards
Hi, Lisa here with you, very excited to share my first post on the blog! Today I wanted to share some fun ways to use my favorite Um Wow Studio masks and chipboard.
I think with all the project life cards on the market we can quickly forget that we might already have supplies on hand that could create really beautiful cards to lead to a faster and easier layout!
The base of this weekly layout is just a stack of simple grid cards. I used both 4x6 and 3x4 grid cards as my base. Alone, they look a bit drab. Plain. and that is okay, too, but if you want to "spice them up" here are some simple steps.
Step One: Use a Mask
I started this 4x6 card with the Line of Chevrons Mask and a messy spraying of mist. I also used one of my pens to draw a few extra chevrons. I love the added touch that added, too.
This created a simple, yet lovely, background. I used a mist light enough so I could still use the lines to journal, but so it still dressed up the card.
Step Two: Use Some Chipboard
I created a bit more detail using the coordinating Chevron Confetti. I love when products "fit" together and these two go hand in hand. The pop of texture and design with this simple addition is just lovely.
Step Three: Add a photo, journaling and/or a few extra details
In just a couple of minutes I was able to have a finished card, just adding a photo, some simple stamping, including a basic date stamp and a bit of washi. You can see each card below has a bit of either journaling, photos, embellishments, stamping or all of them, but it does not take away from the original designs I created with the mask and chipboard.
This page was made so much more "finished" with these easy to use products and I am loving the finished page. By creating my own cards I was able to put the photos where I wanted on the card, add the journaling in larger amounts and match my colors so much easier.
If you customize a Project Life/Pocket Scrapbooking layout please share it here in the comments I would love to visit and see it!
I will be back sharing posts on creating simple personalized cards here soon!
and if you wonder why I use so much journaling and less photos this week, please check out my post here on my blog.
UmWowStudio Supplies:
Sidewalk Chalk Flair
UmWow Studio Chevron Confetti Chipboard
UmWow Studio Line of Chevrons Mask
other supplies:
Becky Higgins Design A Page Protector
White Grid 4x6 Cards
White Grid 3x4 cards by Studio Calico
"I Can't Do This" card by Studio Calico
"the official record"card by Studio Calico
Mr. Hueys Dewey Spray Mist
Mr. Hueys Atmosphere Spray Mist
Stazon Jet Black Ink
Studio Calico Stamps
Pebbles From Me to You Date Stamp
BasicGrey Opaline Collection Pearls (teal)
Lily Bee Design Alphabet Stickers
Wednesday, March 5, 2014
ROTFL!
Hello there!
It's Miae here and I'm up to share a page using some fabulous UmWowStudio products!
I've got this photo of my daughter who happened to be rolling around on a pile of wood chips at the park, laughing about something (oh how I wish I could remember what it was!) so hence the title ROTFL!
I wanted to create something with movement and energy so I used the Circle Confetti Mask with some heavy gloss gel in a radiating pattern from the photo.
Of course I still wanted the photo to be the main focus. Using one of the polaroid frames from the Polaroid MASH did just the trick. I kept the frame in that wonderful, chipboard color and only altered the "make note" with gesso and a zig pen to match the colors of my page.
It's Miae here and I'm up to share a page using some fabulous UmWowStudio products!
I've got this photo of my daughter who happened to be rolling around on a pile of wood chips at the park, laughing about something (oh how I wish I could remember what it was!) so hence the title ROTFL!
And to continue to draw the eye around the page and give movement, I placed a bright yellow flair from the Mustard 29 Flair collection in the upper right followed by a heart from the Heart Confetti collection.
I hope that got creative thoughts going! Have a wonderful day!
Supplies:
UWS Mustard 29 Flair
UWS Heart Confetti
Faber Castell Gelatos
Derwent Inktense Pencils
Liquitex Gloss Super Heavy Gel
Monday, March 3, 2014
Make a Wish...
Hello and Happy Monday!
Tina Walker here today with my first official UmWow Studio Design Team project! Woo Hoo!
My head was spinning with so many great ideas on what to create for my first project, so I thought I'd share a quick Mixed Media canvas, full of whimsy, fun, and childhood wishes!
The base of my canvas was created with Spray Mists and had been sitting in my 'experiment' drawer. Yes, I have a drawer just for things created as experiments. :) Often, when I am not sure where to start, I pull out this drawer and look for inspiration. And this time, it worked.
I knew I wanted to use these chips from UWS, Daisy, and Sunflower! From initial appearance, these lonely, solitary flowers looked like they needed some love and delight. So I built a whimsical and fun canvas around them.
I 'dressed' them up with a super quick, easy, but totally cool way. Using spray Gesso (I wanted a thin, smooth coat of Gesso for stamping), I covered each flower. Once the Gesso was dry, I stamped them with word images for a subtle, yet effective look.
I added several more whimsical details, such as this UWS flair, from the Wild Flowers Set, which I've been hording FOREVER! To add some interest to the flair, I used a Stabilo All pencil on the edges and added water. Just a small detail, but really added to the whimsical look.
I also used several small pieces from the Circle Confetti, covered with glitter. Just a bit of glitz and shine!
That is what makes UWS chipboard and embellishments so perfect for any project! They can be dressed up or down depending on what you are creating!
I hope you enjoyed my first project! Thank you for stopping by! Have a great day!
Tina
Tina Walker here today with my first official UmWow Studio Design Team project! Woo Hoo!
My head was spinning with so many great ideas on what to create for my first project, so I thought I'd share a quick Mixed Media canvas, full of whimsy, fun, and childhood wishes!
The base of my canvas was created with Spray Mists and had been sitting in my 'experiment' drawer. Yes, I have a drawer just for things created as experiments. :) Often, when I am not sure where to start, I pull out this drawer and look for inspiration. And this time, it worked.
I knew I wanted to use these chips from UWS, Daisy, and Sunflower! From initial appearance, these lonely, solitary flowers looked like they needed some love and delight. So I built a whimsical and fun canvas around them.
I 'dressed' them up with a super quick, easy, but totally cool way. Using spray Gesso (I wanted a thin, smooth coat of Gesso for stamping), I covered each flower. Once the Gesso was dry, I stamped them with word images for a subtle, yet effective look.
I added several more whimsical details, such as this UWS flair, from the Wild Flowers Set, which I've been hording FOREVER! To add some interest to the flair, I used a Stabilo All pencil on the edges and added water. Just a small detail, but really added to the whimsical look.
I also used several small pieces from the Circle Confetti, covered with glitter. Just a bit of glitz and shine!
That is what makes UWS chipboard and embellishments so perfect for any project! They can be dressed up or down depending on what you are creating!
I hope you enjoyed my first project! Thank you for stopping by! Have a great day!
Tina
Labels:
canvas,
chipboard,
chipboard flower,
circle confetti,
daisy,
flair,
mixed media,
sunflower,
Tina Walker
Sunday, March 2, 2014
March Sketch
Hello :)
Here is Tusia Lech. It is March already and I would like to encourage you to take part in UmWowStudio Sketch challenge :) You can win awesome goodies from UmWowStudio!! Below you will see an inspiring sketch.
You can make any type of project - art-journal page, layout, card, tag, ATC or anything, what makes you happy to create. Please use any UmWowStudio item or items, include a DIRECT link to your blog post, mention how you were inspired, and which UmWowStudio products you used. That's it :)
And here is my layout. I have used Love Speech Bubbles chipboards. Because the title of my layout is "My reason" and the photo, I have used, show my sweet, little daughter, these chipboards were ideal.
I have covered them with gesso, then I sanded them, to show partially original chipboard. On the photo below you see bubble with "love" - dots surrounded this word were made using white Sharpie Pen.
On another chipboard, after painting it with gesso and uncover a little bit, I applied pink Gelato.
Beautiful flair with crown and word "princess" comes from UmWowStudio Our Princess flair set.
At the background you can see very light pink circles - I sprayed pink Lindy's Stamp Gang mist through UmWowStudio Circle Confetti mask.
UmWowStudio supplies used:
Labels:
challenge,
layout,
sketch,
Umwowstudio
Saturday, March 1, 2014
March Sketch!!
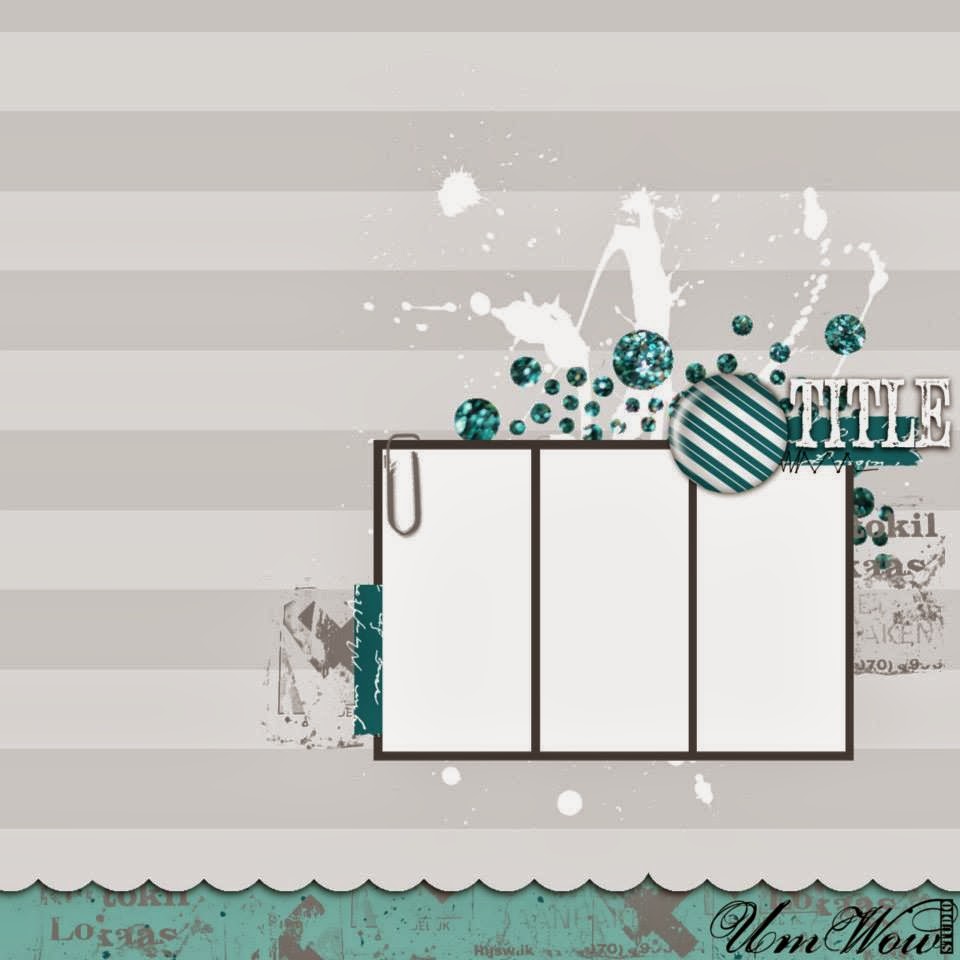
Hello Folks!! Let's get the March Sketch rolling!!
Come back here tomorrow for some FABULOUS inspiration from Tusia! And meet me back here NEXT week for the winner of February's Sketch.
Don't forget you can make any type of project based on our sketch! Cards, layouts, altered bits, just let us know how you drew the inspiration!
Come back here tomorrow for some FABULOUS inspiration from Tusia! And meet me back here NEXT week for the winner of February's Sketch.
Don't forget you can make any type of project based on our sketch! Cards, layouts, altered bits, just let us know how you drew the inspiration!
Subscribe to:
Posts (Atom)


.jpg)
.jpg)
.jpg)
.jpg)