Showing posts with label how to. Show all posts

Friday, August 5, 2016

Golden Artist Trading Cards - tutorial


Hello friends!
Today I would like to show you photo tutorial
for the set of golden Artist Trading Cards.

I used:


Step 1: I covered a few pieces of trimmed cardboard with the layer of gesso.


Step 2: I added a piece of old book's page to each ATC.


Step 3: I added a layer of gesso on the top through the handwriting stencil.


Step 4: I covered the pattern from a stencil with golden
embossing powder and I dried it with the heating tool.


Step 5: I covered edges of each ATC with embossing ink and yellow embossing powder.


Step 6: I added a bit of pink with a pink gelato (just to break the pure "gold").


Step 7: I added golden shimmer with a few layers of golden spray mist.


Step 8: I added hexagons on the top (make sure that the surface is dry!).
I added brown stamping and liquid pearls.
In the end I added some string and a few drops of glossy accents.


And voila :) 


Wednesday, April 15, 2015

"Leftovers" card

Hello :)

Today I would like to show you, how I created my card.
I used some small pieces of paper, they are leftovers from my other projects -
so sometimes I'm making "leftovers" cards :)
They are great for any occassion and don't need any special preparations.
My card is just an example how to compose few items into one nice card :)


We need:
 - cardstock base (kraft one);
- few pieces of paper - as we wish;
- some chipboards;
- some flairs;
- self-adhesive tape (two sides);
- 3 D foam squares


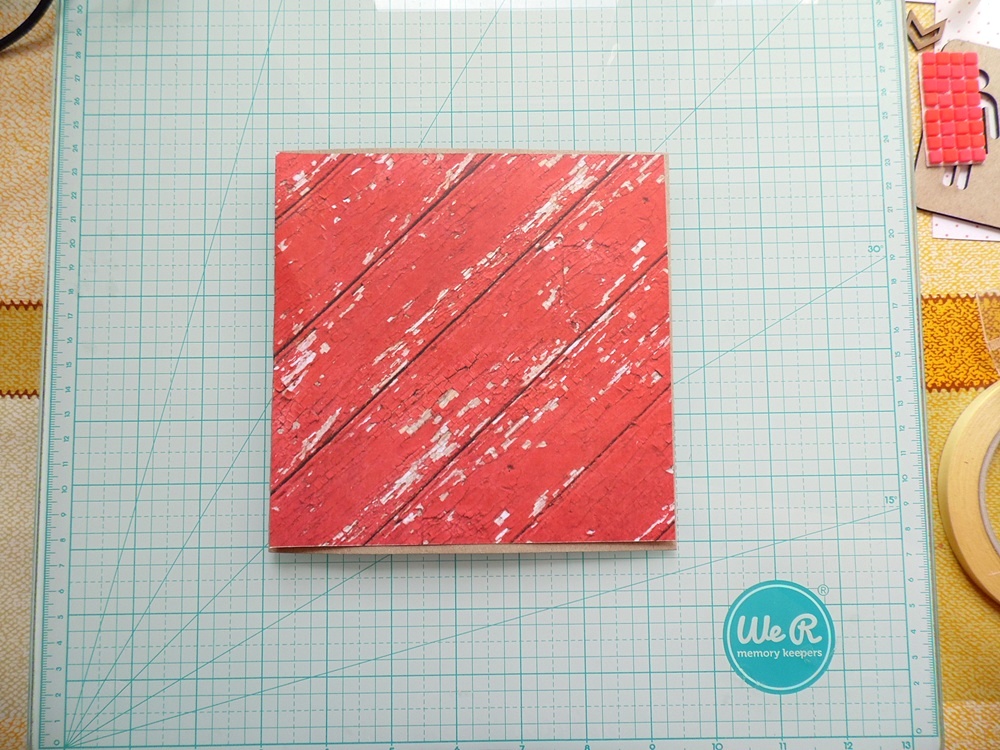
Step 1: I adjusted my color paper to the size of my kraft base.


Step 2: I adjusted another piece of paper to this one from background.
It's a bit smaller. It makes an interesting contrast.
I've bended edges of both papers. I've torn it in a few places.


Step 3: I've glued my chipboard into few pieces of paper
 with glue and 3D foam squares to give it some dimention.


Step 4: Now it's time to compose my card. I've added some white thread.


Step 5: I'm adding some 3D foam squares under a flair button.


Step 6: I've glued some chevron chipboards and a flair button.


Step 7. In the end I've added some accents with liquid pearls and few mosaic pieces.
Now it's time to fit my card into cardstock base.


UmWowStudio products used:


Have a lovely day :)

JaMajka


Thursday, October 16, 2014

Guest CT member Olga


Hello everyone! My name is Olga Kolov.  I am mixed media style crafter from Germany. My passion are paints and paste! You can see me on Facebook | Blog | Pinterest

I'm so exiting to be a guest designer by UmWowStudio today! Wonderful products will be maked here! 
Here I will share a tag for Christmas with you. It is a simple but cute tag. White and Gold - my favorite colors for this wonderful day!


I have made an instruction video for you. Just try it! With wonderful star confetti mask and star confetti chipboard from UmWowStudio line you cann't make a mistake ;) Thank you DeeDee for this opportunity!


The products I used:


Friday, October 18, 2013

Painty How-To by Rachel Whetzel

Hey folks! DeeDee here today, bringing you a little how to from the super talented Rachel Whetzel! She gets some seriously great color on the surface of her UmWowStudio chipboard and was totally in for showing us how! She shows step by step how to get this:


She says: I started out with a piece that I painted and didn't end up liking. I actually used some mists on it, and it didn't look the way I wanted. 


So I sanded that down, and started layering the paint on! I use my finger to rub the paint layers into the chipboard, and to get rid of the paint lines. 


Then I used some punchinella to add some color over the red. Once that was dry, I used a larger punchinella(from Gauche Alchemy,) and off set it from the first layer, and added white. 


Then I went back over and put more teal over that!!

 
Cool right??? Thanks so much Rachel! We just pulled in a ton of Distress Paint from Ranger and Tim Holtz which will be PERFECT for this technique! Keep an eye on the store site for the new goods to try out on our chip! :)