Showing posts with label Moon Shine Flair. Show all posts

Friday, July 10, 2015

Hazel and Ruby {Final day}

Hello friends and fans! It is the last day of our FRAME IT UP Handmade hop with Hazel and Ruby. I hope you've enjoyed the abundance of delicious projects over the week! You can join us back here tomorrow for a prize winner AND the unveiling of ALL of our brand new frames. 


Find Hazel and Ruby:

Find UmWowStudio:

We designed a whole new product line just for our friends to use with their Decor Tape, Paper Rolls and Stencils, and are excited to bring it to you. This week we will be uploading all kinds of new CHIPBOARD FRAMES. They are so sturdy and unique and awesome. They come in our signature sturdy, thick and dreamy kraft colored chipboard.


But for TODAY >>> we still have two more inspiring projects to share with you! the first comes from Magali!


She has worked up this beautiful message center using a brand new UmWowStudio frame, Hazel and Ruby Chalkboard Decor Tape and some scrapbooking paper. She used the frame to highlight the chalkboard part that she cut out for handwritten messages, and added a sweet little clothespin to hang paper based messages!


Along with our brand new frame she's used Layered Banners, Potty People Mash, Star Confetti, Ships Anchor, and our Love Tabs. Stop by her blog for more details!


And joining us today we also have the talented JaMajka! 


JaMajka was a very creative little devil creating this magnet for the fridge. Not only does it stay in place on your fridge to hold important notes... but there's a foil bag to drop your SUPER SENSITIVE stuff into! no more flying cards, photos or takeout menus. She paired up two delicious Hazel and Ruby tapes with our Rainy Day Confetti, Sequin Confetti and Moon Shine flair


And that brings us to the last of our projects! Join us here tomorrow to unveil all of the new chipboard frames!


And don't forget to hop on over to the Hazel and Ruby blog to see what they're up to today! Leave comments for our lovely participants! the more blogs you comment on this week the better your chances at winning a PRIZE PACKAGE!

Monday, May 18, 2015

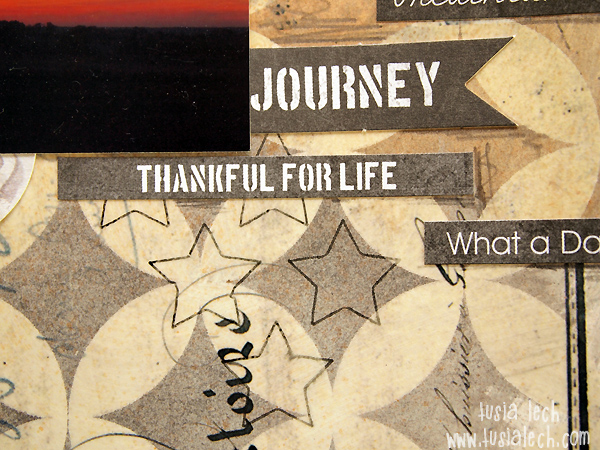
imagine the impossible by Tusia Lech


Life is full of meaning. And there are so many moments each day, that are precious. I love to catch them and collect them. One of my method is taking photos. One of such amazing photos is below - on my layout.


I have used gorgeous UmWowStudio chipboard, flair and mask. At the background you can see drawn stars - I have used Chunky Star Mask


I have used also star chipboards - UmWowStudio Layered Stars.


You can see also some 7 Dots Studio products (from Illumination and Soulmates collections). I love UmWowStudio flairs - the sun below comes from Moon Shine Flair set.


Products from UmWowStudio:


Wednesday, April 15, 2015

"Leftovers" card

Hello :)

Today I would like to show you, how I created my card.
I used some small pieces of paper, they are leftovers from my other projects -
so sometimes I'm making "leftovers" cards :)
They are great for any occassion and don't need any special preparations.
My card is just an example how to compose few items into one nice card :)


We need:
 - cardstock base (kraft one);
- few pieces of paper - as we wish;
- some chipboards;
- some flairs;
- self-adhesive tape (two sides);
- 3 D foam squares


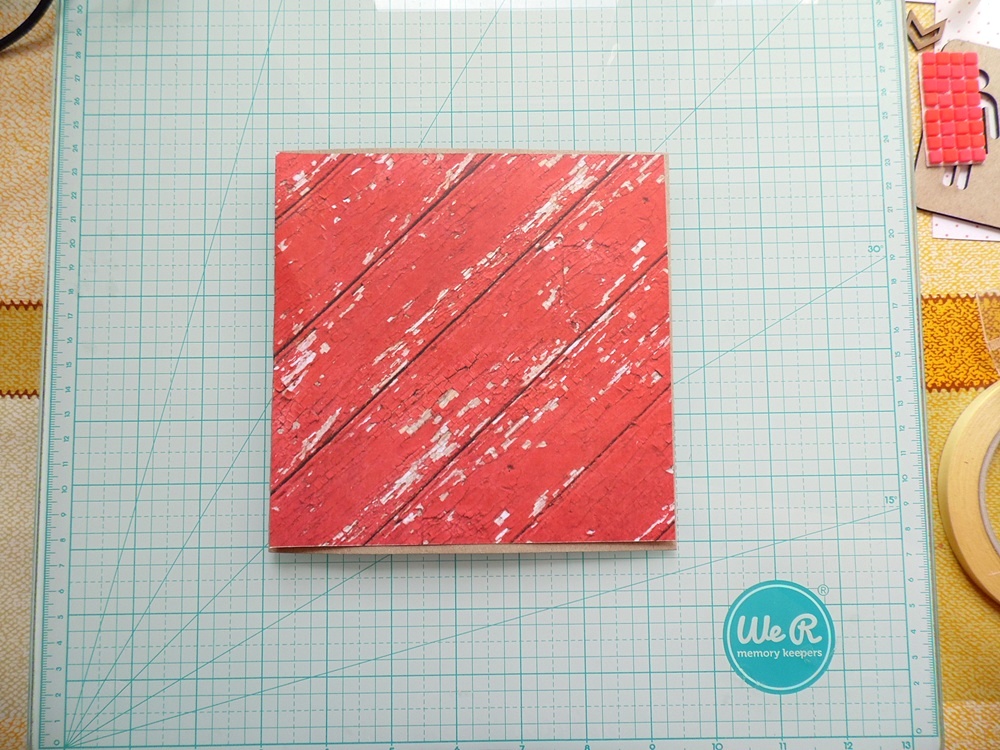
Step 1: I adjusted my color paper to the size of my kraft base.


Step 2: I adjusted another piece of paper to this one from background.
It's a bit smaller. It makes an interesting contrast.
I've bended edges of both papers. I've torn it in a few places.


Step 3: I've glued my chipboard into few pieces of paper
 with glue and 3D foam squares to give it some dimention.


Step 4: Now it's time to compose my card. I've added some white thread.


Step 5: I'm adding some 3D foam squares under a flair button.


Step 6: I've glued some chevron chipboards and a flair button.


Step 7. In the end I've added some accents with liquid pearls and few mosaic pieces.
Now it's time to fit my card into cardstock base.


UmWowStudio products used:


Have a lovely day :)

JaMajka


Friday, May 2, 2014

Sketch Inspiration {Daddy's Gloves 12x12}

Hello Hello!! DeeDee here again, today.

Today I'm inspiring you using yesterday's grungy stampy delicious sketch! (Which you have all month to enter, of course)

The sketch! 


And I worked up the following 12x12 based on it. 

As you can see, that's my Oobaloob (Gabe) wearing his daddy's work gloves. He makes the cutest faces when I take photos, so I knew the photobooth styled photos in the sketch would be a perfect way to show them off. The paper base is from our dear friends at 7 Dots Studio from the brand new Cold Country line by Finnabair.

 
I took advantage of the grungyness in the sketch by laying out some Blick gesso underneath the spot for my photo. I've layered up tons of Viva Las VegaStamps! rubber stamps (Color Wheel Lines, Coffee Ring Stain, Victorian Flourish, Waybill/Invoice Background and Rear View Vintage Car) all in black Archival Ink by Ranger. In this cluster there's some Gauche Alchemy Washi Tape, Element Die Cuts from Nature Walk by 7 Dots Studio, Prima embellishments, and an UmWowStudio bit from the Gear Mash which has been swiped with a black ink pad.


Here is a bit more stamping and clustering, including a piece of Chevron ribbon from May Arts, those great stamps from VLVS!, a Prima brad, a tag reinforcement from the Soar Tag set and a piece of flair from Moon Shine.


Here's a great close up of what our fabulous chipboard looks like with just a dab o' ink! Take any color ink of any type ink pad you want, and just swipe it right across your chipboard piece. If you press hard enough it will color the whole thing, or you can lighten up a bit and get a more mottled, grungy effect like this. I used a Black Archival pad by Ranger to swipe across a couple pieces from the Layered Triangles. You can also see in this photo a bit of the checker pattern from our Checker Board Mask. I just misted a bit o' instant coffee through the mask for a nice dull but noticeable effect.


And finally... I used one of the frames from the Movie ATC frames set, chopped off 1/3 of it and slid it under my raised photo sequence. It's a great anchor. The title is 'Daddy's Gloves' and was made using a basic dymo label maker. I also finished off with some random stamping around the page using a date stamps to mark the occasion.

Thanks for stopping by to see me today :) It's always a pleasure to connect with the UmWowStudio fans. See you next time♥ DeeDee

Thursday, April 17, 2014

Sweet Boy {Scrapbook Layout}

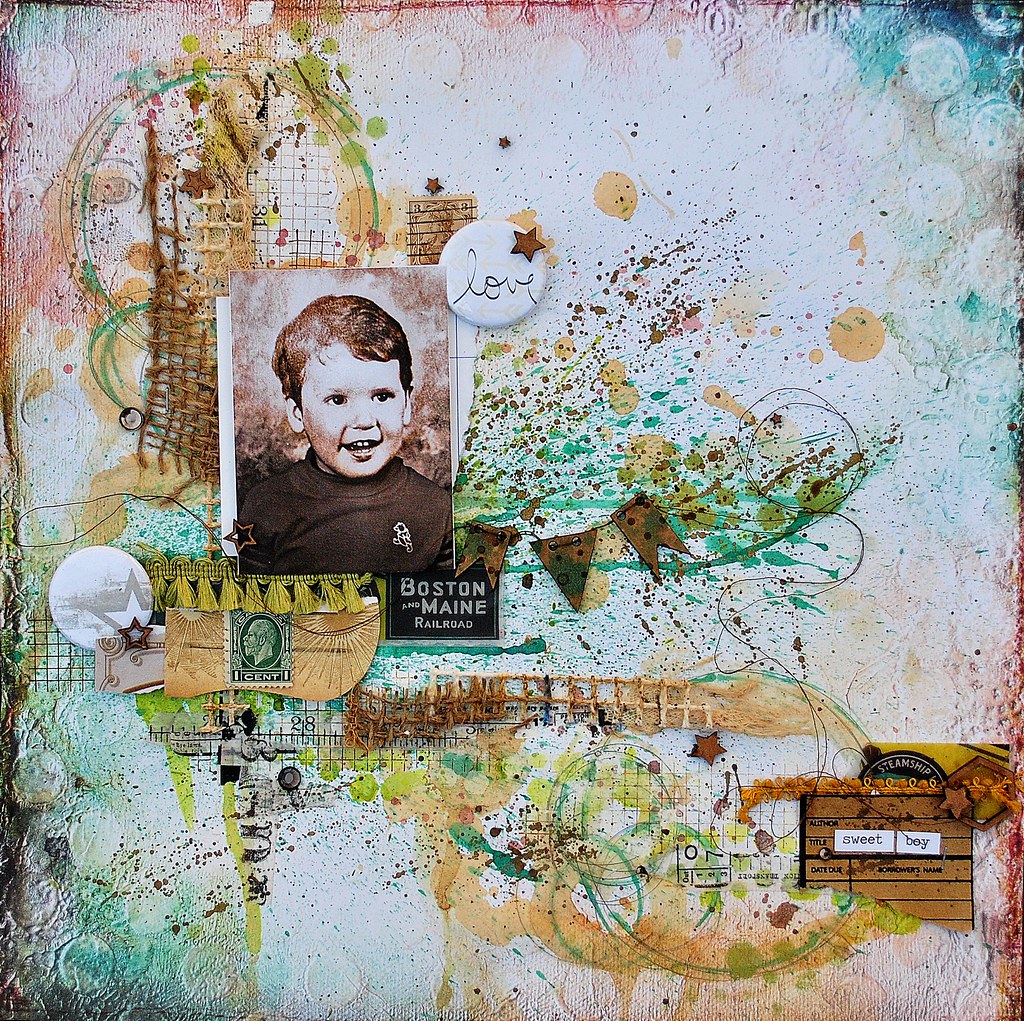
Sweet Boy, Full, UWS, ALLassiter Hello UmWowStudio fans, it's Amy here today, to share a layout I created using a favorite photo of my sweet husband when he was around three. This is the first photo I've scrapped using a little boy, as I have three daughters; so I started by choosing a fairly unisex color palette. Once I had created the background, using Lindy's Stamp Gang mists, tea stain, and paint,(I used the Hexagon Confetti and Checker Board masks in random areas throughout the page, using a green metallic paint); I layered on washi tape, stamping, and finally fibers (cheesecloth, latch hook rug fabric, burlap)...and of course the paper and photo layers.
love flair, sb, allassiter
When it came time to embellish, I used flair from  Life is Good  and Moon Shine.  and scattered gently across the page are pieces of Star Confetti, and a bit or two from the Layered Hexagons.
mini chip banner, sb, allassiter
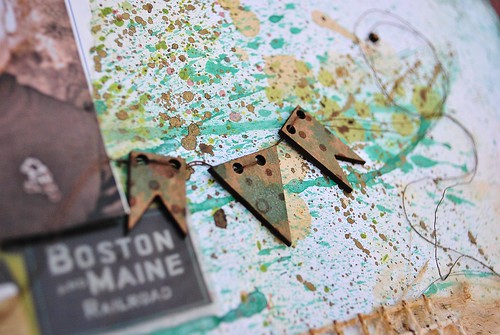
Finally, I misted three pieces from the new and wonderful Banner Mash, and strung them with thread...easy peasy! I'm so excited with how this layout turned out, and I have it on display....the perfect way to share a sweet picture of a now very sweet man. :)

 Supply List:
UmWowStudio:
Chipboard-Banner Mash, Star Confetti, Layered Hexagons
Flair-Moon Shine, Life is Good
Masks-Hexagon Confetti, Checkerboard
Paper: 7 Dots Studio, 9th Wave
Transparency:Glitz Design
Journal Cards: Jenni Bowlin Studio
Stamps: Viva Las Vegastamps! (washi tape)
Mist: Lindy's Stamp Gang
Tissue Tape: Tim Holtz
Paint: Plaid, Viva Decor, LuminArte
Trim: The Paper Studio
Ink:Tsukineko
Other: Burlap, Latch Hook Rug fabric, cheesecloth, thread (coates twig), vintage stamps, tea for stain

Monday, April 14, 2014

Forest canvas

Hello on Monday! :-)
It is wiosanka today and my "forest canvas" with photos of my sons. As You have probably noticed, I love to use photos of my boys in my projects ;-)

There are many details in my work, almost all of them are the elements from Nature Walk collection. Also two flairs that I used here are connected with that collection.
You can also see Circle Confetti Mask - I just love it ;-)

The chipboards that I used here are my favourite Gear Mash - coloured with some mists.


UmWow Studio products that I used:
Nature Walk Stamps

Have a nice day! :-)