Saturday, March 28, 2015

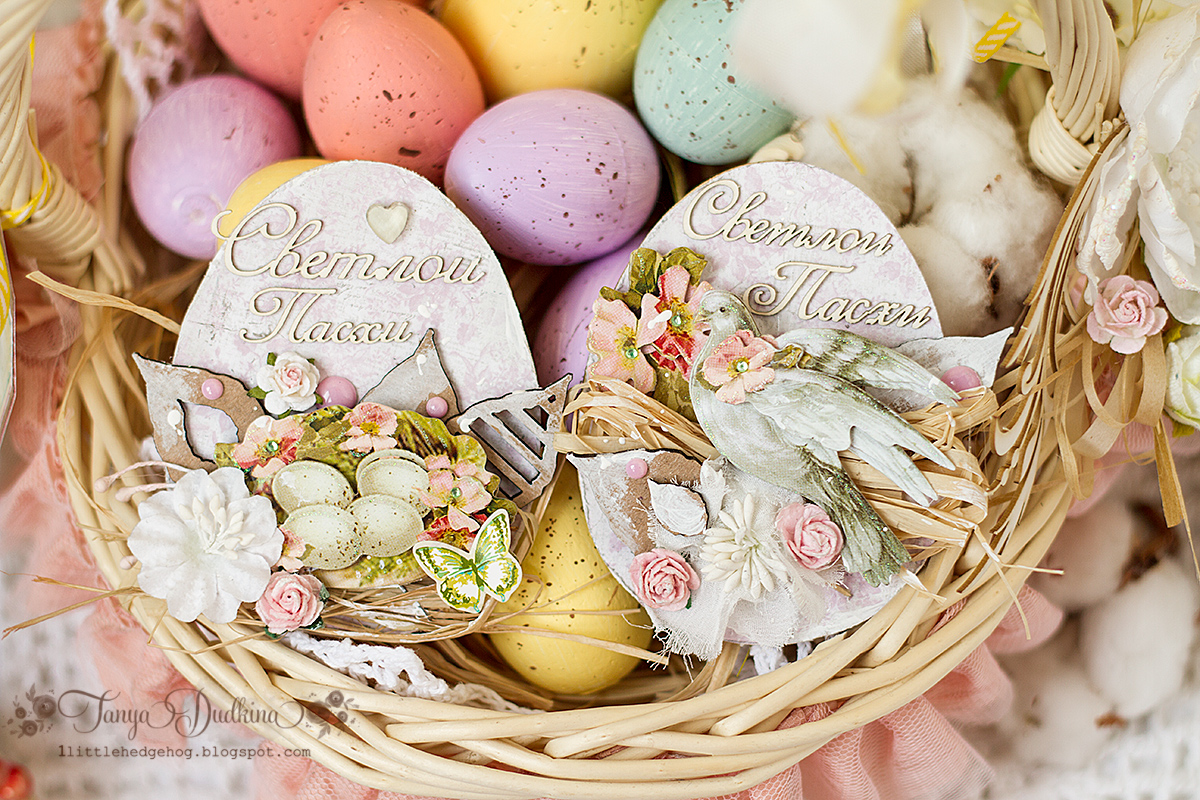
Easter mini cards by Tanya Dudkina

Hi!
Easter is coming and I decided to make a few mini cards which will decorate gift baskets for my friends. When you work with tiny projects you want to add some really nice details because these details will always be in focus. That's why I decided to make final touches to my cards with gorgeous UmWowStudio leaves 

Let's have a look?


I added some splashes with white acrylic paint to make leaves more shabby


UmWoWStudio products I used

Layered Leaves


Layered Leaves

Have a nice weekend and hope you enjoy my idea.

Friday, March 27, 2015

An Easter layout by Ladybird

 
Hi everyone!
Already close to the end of March, it's now time to think about Spring!

Today I want to share a Easter layout made just for you.
I love this photo of my little boy with his duck costume... so adorable, but not so easy to capture!
And perfect for Spring layouts! ;)
I think I can definitely admit that yellow is my favorite colour these days.
I love the fact that the flair is not totally covered by the quote,
so it's easy to add a personal touch on it!
Here I found the perfect little duck to match the theme.
 Circle stencil and confetti chipboards are just perfect together!
I used a yellow Posca marker to add colour to the Celebrate Hashtag. That's a very easy way to add colours while keeping the rough effect of the chipboard. I love it!
 Here are the UWS products I used:
Circle Confetti

Circle Confetti Mask
Celebrate Hashtag Banners

From the Heart Flair

And I also used products from: October Afternoon and Lime Citron.

Wednesday, March 25, 2015

You Two by Sindi Jeffers

Hi everyone! I just stopped by to share this layout I created with my UmWowStudio goodies! I'm also going to share how I created some cool texture on the layered banner pieces.

I love this photo of my husband and little boy. This picture is a couple of years old, so that "little" boy is several inches taller now!

I used some drywall tape and white gesso to get that grungy texture on the chipboard. Here's a quick tutorial on how I did it:


You'll need your layered banner pieces, some gesso, and some drywall tape. I stole the tape from my husband. That's the best way to get drywall tape, of course.


Cover the chipboard with drywall tape. I let the tape go over the edges and stick to the surface under the pieces. This helps them stay in place. Use a paintbrush to cover the chipboard in gesso.


Next, peel off the drywall tape. I peel it while the gesso is still a bit wet. I've found that it sometimes scrapes up the chipboard and is just hard to peel if you let the gesso get too dry.


After the gesso dries, I glue the top pieces onto patterned paper. Then I trim around the edges with my exacto knife. From there, it's just a matter of attaching the top banner piece to the bottom. I like to attach them so that they are slightly askew and the bottom piece shows through a bit.


Here's the end result:
I leave the edges of the chipboard raw. It makes for a grungy, old window kind of look. I also added a few of the diamond confetti pieces in the center of my other paper embellishments.


UmWowStudio Products used: 

Thursday, March 19, 2015

make a wish - Tusia Lech


Hello bloggers :)

Here is Tusia Lech today with colorful, spring layout and short step-by-step, how I altered Make a Wish Pocket Chip


At first I trimmed the photo, so it fits the pocket chip.


Then I applied white Chalk Ink, to make the whole chip lighter.


Then I used black Artist Pitt Pen from Faber-Castel to highlight the edges.


Next step was applying some Finnabair white gesso on the edges, highlighting the arrows with Ranger Stickles Glitter Glue and adding some dots at the bottom of the chip with Ranger Liquid Pearls.


As you can see on the photo, I decided also to work with Finnabair microbeads and to fill the word "wish" with them. 


Here is final effect:


Thank you for visiting us today :)


Supplies:


Monday, March 16, 2015

Blue and green


Hello :)
Today my card with blue and green shades, 
messy and crazy as always :)


I used:


Here are some details;


Have a lovely day :)


Friday, March 13, 2015

Mon petit bonhomme by Ladybird

 
Hi everyone!
I have a layout to share with you today.
You will see that there is several ways to bring chipaboards with cut shapes to light.
 I am a great lover of stars for my boys layouts, so Um Wow Studio products are just perfect!
 You can highlight them by placing a gold or sparkling paper under them. 
As you can see, I did both for this layout :
I added a gold paper under the Star Peek-a-boo Tag (see below).
And here, I added a sparkling paper ribbon under the Decorate Hashtag from the Celebrate Hashtag Banners Set. This way, the word is totally revealed. I used the same trick with the ThisDay Hashtag at the top of the page.
Here are the products I used:
Some other brands used: American Crafts, Basic Grey and October Afternoon.
Enjoy your day!

Thursday, March 12, 2015

Art Journal Inspiration by Tanya Dudkina

Hi! Hope your Thursday is just awesome! Today I want to share with you my new art journal pages. I started this art journal to collect all my ideas and inspiration about watercoloring. I made my first steps in botanical watercoloring this month and it is sooo exciting and relaxing process. Did you try to put all your thoughts away and just watercolor something in your album? This is awesome!

I started my art journal with motivation - The sky is the limit and title "Я могу все" which ean I can do everything in Russian. I chose awesome UmWowStudio  Rainy Day Confetti and gorgeous flair from The Bee's Knees Set   to support y idea of creating sky 


Close ups
I covered little clouds and drops with gesso and some of them also painted in blue with acrylic paint.


UmWowStudio products used: 

Rainy Day Confetti

The Bee's Knees Set


The Bee's Knees Set
Hope you enjoy it and have a nice day!