I'm super excited to share this month's kit!! It has some super fun little embellishments and some handmade flowers (of course) but first off.. here's the inspiration!
I made the collage, and 2 of the photos I took.. but not all of them:
Here I am, throwing my name into the hat for the May Arts DT call. I've been lucky enough to be chosen for quite a few of the May Arts monthly challenges and love working with such beautiful high quality ribbons.
Here is my tutorial format project (in written format):
Gather supplies: a gorgeous super wide dark brown burlap ribbon by May Arts, Basically Bare canvas fleur de lis, Distress Stain in Pumice Stone, a medium color burlap, muslin, dark brown quilting thread (it’s thicker than normal every day thread), vintage buttons and pillow fluff! (don't forget the sewing machine!)
I splattered some distress stain on my teflon mat, gave it a bit of a spritz with water and dipped my fleur de lis in it. I then set it out in the sun to dry… I did try heating it with a heat gun and for whatever reason it kept getting a purple tint. Mr. Natural Heat to the rescue
After he was dry I sewed a piece of burlap to a piece of muslin.. I knew I wanted the burlap to be the main texture of the pillow.. but didn’t want the fluff to poke through the open texture, so I created the base of the pillow from a nice tightly woven muslin. After the burlap was sewn to the muslin and my fleur de lis was dry I placed the Basically Bare canvas piece on top of the muslin and stitched a couple of times with the dark brown quilting thread.. not only to hold it in place but to pull together some of the darker browns I wanted to introduce into the pillow.
Then I sewed my May Arts ribbon on at the top and bottom.. Keep in mind there’s no back on my pillow yet.. At this point in time I’m basically building what I want the front to look like! After the ribbon is in place I pulled a couple of burlap strings from a scrap of the ribbon and sewed my vintage buttons into place.
Then I sewed my two sides of the pillow (my front piece and the back piece) together WRONG SIDES touching.. but I left a small section unsewn so I could pull my pillow right side out! This makes a very crisp clean sew line all the way around. Stuff pillow.. sew shut the tiny spot.. and DONE!
Here is a video I did on making Washi tape (not ribbon based, but a video none the less!)
And here are some general projects that utilize ribbon:
A mini album made of journaling cards. Ribbon is wound through the binding as well as used for tabs to open the book.
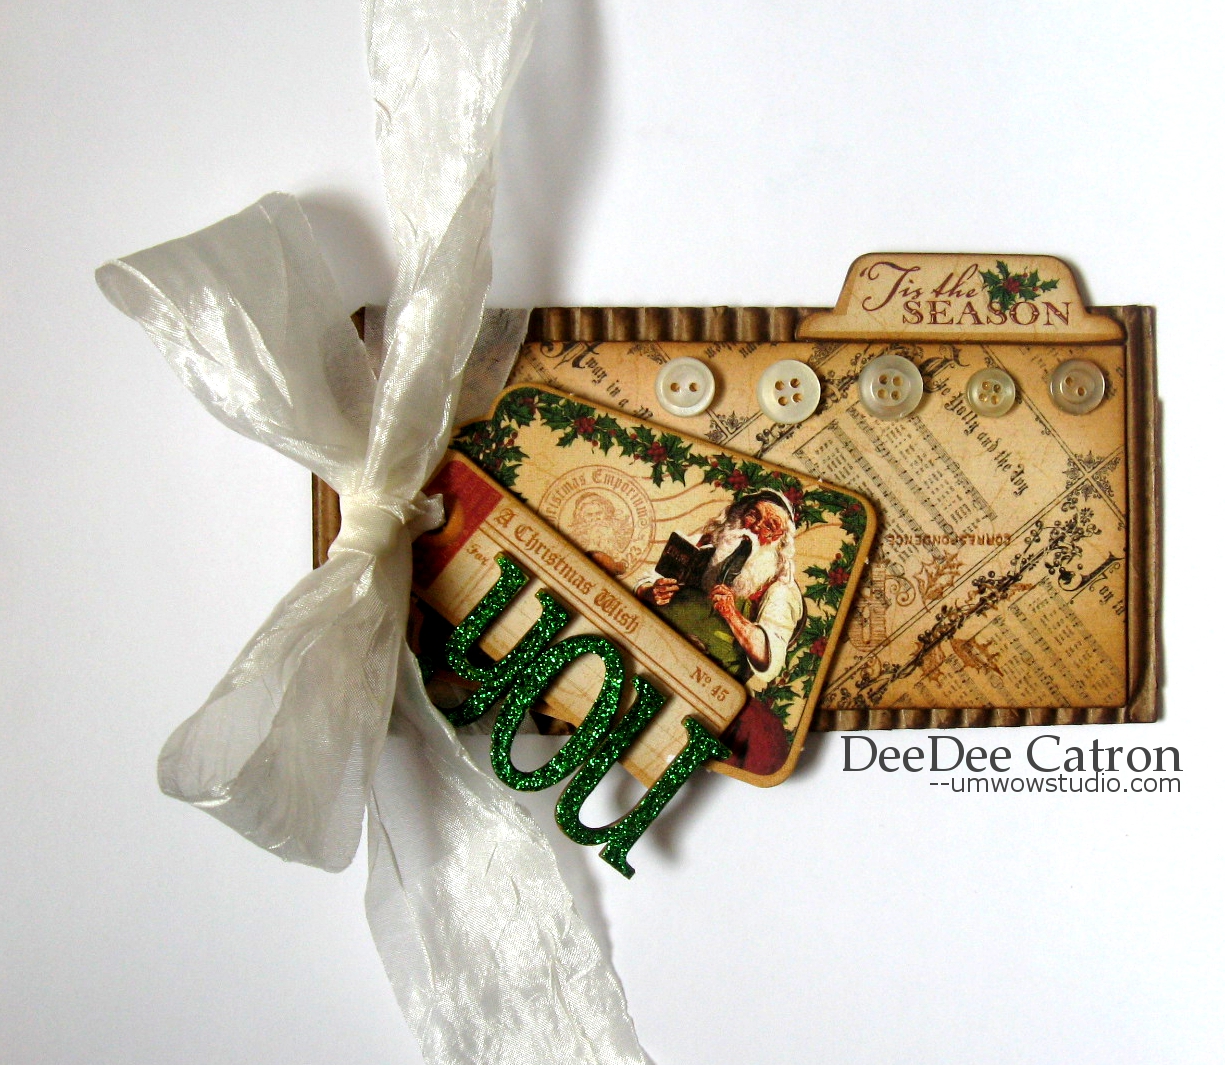
A Christmas tag using gorgeous May Arts ribbon to hold together all the beautiful layers.
A Mother's day card using white seam binding hand dyed and burlap string.
A wall hanging using four different May Arts ribbons, three to make a Prima inspired flower and one as stitching on the stocking.
An altered tray using tinsel/ribbon and a sheer ribbon as a layer in the title banner.
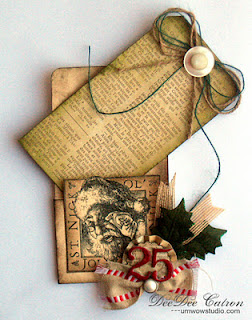
A Christmas tag/card using four different May Arts ribbons to really make it a "keeper"
Hello!! Welcome to my stop on the LOVE CAST IN CLAY hop!! Amazing Mold Putty and Creative Paperclay® Have teamed to bring you this fabulous blog hop!!
There are two prizes available.. worth $25!! One on the AMP blog and one on the Creative Paperclay® blog -- you must comment on EVERY stop and become a follower of every stop to be eligible for the win!
Here is a list of the blogs in case you've become lost along the way:
And here is my project:
I fell in love with this mini cameo and just had to use it! I cast the original in Amazing Molding Putty. When my mold was cured, I demolded the original and dusted the inside of the mold with Alumilite's Pearl dust. I then molded the piece out of the Air Dry Paperclay®. After a full 24 hours (to be sure it was dry) I took my piece out of the mold and brushed with a Martha stewart chocolate brown glaze. Before it had a chance to dry I wiped the piece with a wet cloth to take off the excess glaze!
Other products used: Teresa Collins paper, cardstock, MME cardstock, walnut stain distress ink, baker's twine, muslin and hot glue.
Thanks so much for stopping by!!! Your next blog is that of Debbie Buckland!