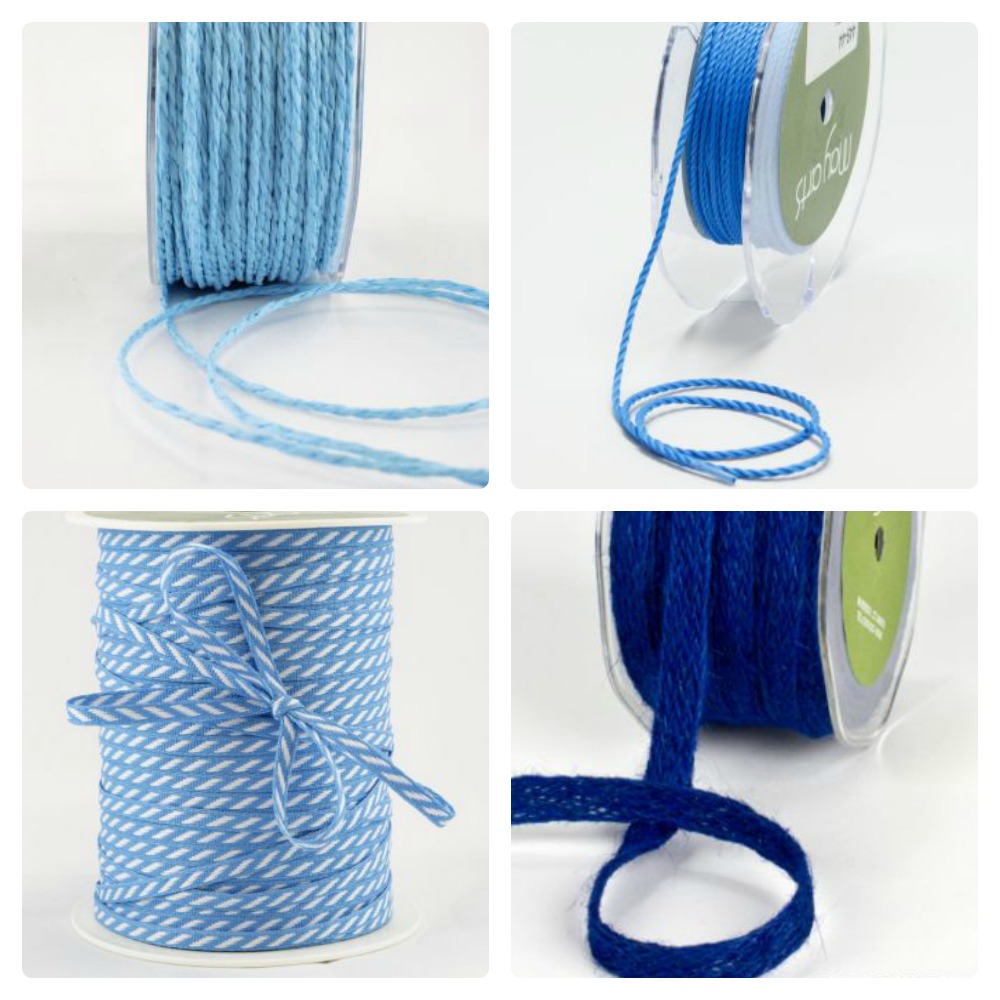
Showing posts with label stamping. Show all posts

Friday, May 15, 2015

Destination Unknown {7 Dots Studio & UmWowStudio MASH UP}

Hello folks! DeeDee here today to inspire you with Destination Unknown!!!


I can't say it often enough... so here I go again. I'm SO lucky to get to design papers for the wonderful company 7 Dots Studio. I'm just as equally lucky to own UmWowStudio and design pieces I want... AND I'm even more just as lucky to get to coordinate the two!

During the month of May the DT from 7 Dots Studio and the CT from UmWowStudio are inspiring you using the collection from both companies... we'll here I am today, as the owner, creator, and artistic mind behind Destination Unknown to inspire you :) 

I've put together a couple of tags to share. 

The tag bases are two pieces of watercolor paper cut using the Sizzix / Tim Holtz #8 die. I use this die for almost EVERY tag base, because it allows me to cut this nice large delicious tag from any sheet of almost any material that I desire. Fan girl!

The tags have then been layered up with lots of deliciousness like dimensional adhesive, altered chipboard, fibers, a Waybill/Invoice background stamp from VLVS! and more. Both tags also have a layer of the Destination Unknown Diecut Tags from 7 Dots Studio.


The left tag is comprised of a chunk o' May Arts Webbing to resemble a fishing net, some atlas paper, and pieces of UmWowStudio chipboard from the Sea Life Set, Coral and Mermaid Duo. The chipboard has been altered with Gesso and Glimmer Mist.


The right tag is layered up with a distressed piece of cheese cloth, washi tape, paper doily, some sewing and a Viva Las VegaStamps! rubber stamp { Whale Tail }. It's also got layers of UmWowStudio chipboard from the Sand Dollar and Starfish sets. The Starfish Wishes is a sentiment sticker from the sheet included in the 7 Dots Studio Destination Unknown collection pack

Both tags were finished with some May Arts burlap twine.

Delish right?

Tuesday, June 3, 2014

"She" Gift Bags...

Hello and Happy Tuesday!

Tina Walker here today with fun way to use UmWowStudio Stencils, Chipboard, and Flair.


I've had these Maya Road burlap bags in my stash for awhile, and wasn't quite sure what to make with them.  I've been obsessed with using UmWowStudio Stencils recently, so I thought it might be fun to add some texture to the burlap bags with a stencil and embossing paste. (I used the Diamond Confetti Stencil for my project)


While the white embossing paste looks pretty awesome just like this, I wanted more color and depth to my burlap bag 'background', so I sprayed some of my favorite spray mist directly on each bag.


Once my spray mist was dry, I stamped several ladies on sprayed (with spray mist) cardstock and cut them out.  I added a few sequins and sentiments to each bag for additional interest.

On my larger bag, I added a Flair piece from the "Mustard 29" Flair set,  and a few painted/sprayed pieces from the "Layered Triangle" Chipboard collection.


Wouldn't these bags be great to give to a special friend or family member?  Add a small gift or hand-written note for a memory that will last a lifetime.

I hope you enjoyed my "She" Gift bag project today!  What are some ways you use UmWowStudio stencils, Chipboard, and Flair?  I'd love to see your projects!

Tina

Monday, January 27, 2014

Indie Girl

Hello! It's Amy here today, to share a mixed media layout I created using lots of  UmWowStudio goodness!! My daughter had taken a selfie, while wearing yellow tinted glasses, her earbuds, and a necklace I wore frequently as a 90's "grungester"; or in her words...a "grunge hipster." I thought the photo begged for a free and hip vibe.

 I started with the Light Bulb Mask, and simply sponged on black ink over the top.....in a fairly heavy layer. I then added a center stripe of stamping and washi tape, and went over all of this with splashes of bright pink and glittery turquoise paint. 

After building layers of paper for my photo to perch atop, I added 2 pieces from the Mustard 29 and Make a Wish  flair sets in the corners.
To add movement and awesome interest to the page, I layered up bits from Gear Mash as well as chevron and star confetti, layered hearts , and finally, the This End Up phrase chipboard. I left them "naked" for the fun contrast in color.
Thank you for having a look at my project featuring my "indie girl" today, and I hope you are inspired to get your stenciling, flair, and chip on!

~ Amy
www.sparklinggnome.com


Supply List
UmWowStudio Products: This End Up-mask, Mustard 29 and Make a Wish-Flair, Gear Mash, layered hearts, this end up (words), chevron and star confetti-Chipboard. 
Patterned Paper: 7 Dots Studio- Love is in the Air, Domestic Goddess
Stamps: Viva Las VegaStamps!  : color wheel lines, indie 3/4 x 1 3/4,  tire tread 
1 1/4x 4 1/4, torn paper 1 1/4 x 6, through the looking glass, cursive background 4x 4 1/2 
Ink: Clearsnap-Mix'd Media Inx, noir;  Hero Arts- Neon Pink, Ranger Archival Ink-Coffee
Metal Embellishments: 7 Gypsies, Bead Landing
Flowers: Prima Marketing
Washi Tape, Vintage cards: Gauche Alchemy, Tim Holtz


Wednesday, August 28, 2013

Wanderlust {a 12x12 by Chrissy Colon}

This photo just begged for me to use fun colors, patterns and of course, confetti and flair. I also had a lot of fun playing around with mists and embossing paste.


I love the flair and how the images really speak to me. And let's not forget about the most awesome chipboard around. I just love how the confetti shapes look in the buff.


Thanks for taking a look!

Supplies Used:

UmWowStudio Heart Confetti
UmWowStudio Retro Love Flair

Other Supplies:

Viva Las VegaStamps! Stamps
May Arts Ribbon
Heidi Swapp Color Magic Paper
American Crafts cardstock
Art Anthology Mists
Heidi Swapp Color Shine
Faber-Castell PITT Pen
The Crafter's Workshop Stencils
Dreamweavers Transluscent Embossing Paste
PearlX mica powder
StazOn Ink
Doodlebug Glitter

Monday, July 29, 2013

Beach Sighting -- {Viva Las VegaStamps! & Genuinely Jane Studio}

Hello everyone! Today we're hopping with Viva Las VegaStamps! and Genuinely Jane Studio!! 


We're combining some superb wooden albums with our gorgeous, deeply etched, high detailed, pink rubber stamps!


You should be here from LORI. If not start over @ the VLVS! blog :).


Today you saw THIS Sneak peek:


The whole piece is a Barn Door Album that I've tied together in a display piece:

I started by scene stamping some different images to create an under water scene. The stamps I used from left to right for the scene stamping on the bottom: Sea Scene - Leaf - Mountains and Cactus (this was PERFECT for the bottom of the ocean!) - Century Plant - Long Shell - Sunken Anchor - Leaf (again) - Helix Shell - Century Plant (again).


I also used the Scuba Diver, the TadPole, and the Jellyfish in the background. I stamped all stamps in black archival ink by Ranger, then colored my wood with glimmer mists. I laid down some tissue tape and my photo, then collaged shells all around the base. The shells were covered with glimmer glaze. I then decked out the collage in glitter, seed beads and e beads.


Other supplies used : UmWowStudio small shipwheel, May Arts Ribbons Twisted Burlap, a starfish, cheesecloth, adhesive. 


I grabbed my Anchor stamp and my Line of Chevrons stamp as a final step to completing this baby!

The Hop:

Thursday, May 30, 2013

Brand New CICADA!! {A Sneak Peek}

I finally got around to uploading the Cicada today! 


I've used him a couple times and just keep thinking how amazing it would be on a super mixed media page. I know what I'll be doing with it next!!

For now though, I've got a post up on the Helmar blog with instructions on how to use the wings for a Button Fairy!


Tuesday, May 28, 2013

Happy Birthday {A card by DeeDee}

Hey folks :) Just me today! 

I thought I'd share with you a card I created for Paper Craft's Gallery Idol! 

The open auditions were for Birthday cards for kids or teens. I thought this piece would totally appeal to a young lady :) 


I used UmWowStudio star confetti, Happy Birthday by VLVS!, Carta Bella cardstock, plain white cardstock, an American Crafts pearl brad, ranger archival ink, three ribbons by May Arts, cheesecloth, Zap Dots and Fabric Glue by Helmar.

Sunday, May 19, 2013

ABAC Color Challenge {New Stamps!}

I've been toying around with the idea of entering the Gallery Idol competition and so picked up a few new birthday stamps..

..it just so happened my ABAC (Anything But A Card) challenge was due, so I picked up my smash style journal and got to experimenting with my new stamps!! Challenge #19 is about COLOR inspiration!


So along with my Viva Las VegaStamps! rubber stamps I also got out my Glimmer Mists by TA, my Punchinella by Gauche Alchemy, Ribbon by May Arts, and my Distress Markers and Inks by Ranger.


I'm not sure exactly if I'll be entering the Gallery Idol challenge yet, but it was fun to play with stamps outside of my comfort zone :)


Sunday, April 7, 2013

Sunday Mixed Media!!


I'm pretty stoked with how today turned out!!

It was our first Sunday of the Live Free Demo I'm doing the first Sunday of every month at The Crafting Place on Russell here locally in Las Vegas!


I figure the way we'll work the demos is a booklet style.. Each month we'll do a tag with a new technique (Or a few new ones!) and we'll keep them all on a ring to look back on when we need some inspiration or to see a technique!

Today we focused on stamping with Gesso and here is our finished piece :


we had a ton of fun.. everyone got SUPER creative.. I'll be sure to get PICTURES of everyone's tags next time! They had so much fun going through stamps and changing the focus of their tags :)


I sure hope if you're local or in the area at the time you can meet us to hang out and play! :)

This tag uses Viva Las VeagStamps, UmWowStudio, May Arts, Ranger inks, vintage buttons, American Crafts glitter brad, Studio Calico Mr. Huey, Tattered Angels glimmer mist, a black pen and adhesive.


Tuesday, April 2, 2013

Ribbonista BLUE Hop!!

Hi everyone :)

I'm super honored to be a part of May Arts and Bethney's Ribbonista hop today!

All around the world it's Autism Awareness day and we're celebrating with blue projects full of ribbon!


Here's the sneak peek that brought you here from the MA blog :)
You should be here via Charlene's blog - if not start over at the May Arts blog!


The ribbon I've used on today's card is
and


I've put this beauty together using Echo Park's Paradise Beach CS, the Butterfly and Make A Wish by VLVS!, Teal Highheel Tattered Angels Glimmer Mist, an MME brad, Broken China Distress Stain, Archival ink in black by Ranger, and Studio Calico's Mr Huey in white.

If you leave a comment on each post along the hop you'll be entered in a wonderful giveaway!


Now head on over to Emily's blog and see what she's sharing! :)
(I'll also be entering this into the CropChocolate weekly challenge!)

Friday, March 8, 2013

WINNER!!!

It's the day to choose a winner from the PaperHaus Spring Blog Hop....


50 comments!!!

The random.org generator chose....


dun Dun DUNNNNN

NUMBER 35!


WHO is...


I love the paintbrush!


TERESA!! 


email me @ umwowstudio@gmail.com with your shipping address and I'll get you your prize ASAP :)

Thursday, January 24, 2013

My Rock - a 12x12 layout

(If you're here for the Blast From The Past Blog Hop CLICK HERE)

I've been working on a pink and cream layout inspired by the Aflutter embellishment kit and am SO STOKED to share it today :)


Supplies include:
The banner featured in the January kit from UmWowStudio
Ribbon from May Arts
Brick Background stamp by Viva Las VegaStamps!
Punchinella from Gauche Alchemy
Sandy Beach glimmer mist from Tattered Angels
Thickers from American Crafts, Distress stain in spun sugar and Archival black ink by Ranger, Daily Junque Alpha and Artisan hearts from Pink Paislee, Tissue tape by TH, a C from Prima's canvas letters, gesso, kraft paper, a black pen, seed beads, glitter, vintage buttons, label maker and cheese cloth.


You know I'm a total fan of distressing and layering... here it is in all its glory :)
I'll post a video later this weekend showing how to make this layout.

♥DeeDee

Thursday, January 17, 2013

Nat n Birgit Page!


I haven't been doing much for ME lately.. and when we ran into Louise Nelson at CHA she said "You HAVE to make time to do your OWN stuff. Not for publication.. not for DTs.. for YOU"

So the day before yesterday I had a few pictures printed, and last night I got to work on putting them into my journal! I love the size of this journal, and you'll find the "style" very repetitive in it.. because the paper takes ink and gesso SO WELL. 

Here's the first of many to come! 


I started off with two bits of amazing punchinella by Gauche Alchemy. one large circle and one medium. I gessoed them onto the page with white gesso by Winsor and Newton. (You can see the circles better in the next two photos!) Then using a new technique I learned from Janna Werner during Creative Jumpstart I splattered some Glimmer Mist in Mustard Seed by TA all over my page. Rather than spraying with the bottle or splattering with the wand.. I sprayed into the cap of the bottle a couple times then splattered that.. it gave me some wonderful BIG splatters!

Then I stamped with Viva Las VegaStamps!' line of chevrons and lace fancy border in Ranger's archival ink. I added a bit of charcoal glimmer mist and then adhered my image down with Miracle Tape by VLVS!. I knew I needed some color to the right, so grabbed some start punchinella (also available from Gauche Alchemy) and inked it with four layers of distress ink. First was Shabby Shutters, then Peeled Paint, add some Mustard Seed and finish with a tiny bit of Black Soot. 


Add a bit of Washi Tape from Gauche Alchemy and stamp it with a date!


I did the tiniest bit of drawing around the edge, too. It helped wrangle everything inside the page. 

♥DeeDee

Thursday, January 3, 2013

Dream Big


(Check back later today for your first sneak peek of Aflutter!)

Today I'm sharing my post from yesterday's May Arts blog post. 

I made an inspirational New Years mini book. and I'M SO IN LOVE WITH IT! I think I needed to get some stamping out of my system... It uses an UmWowStudio flower, TONS of May Arts ribbons, TONS of Viva Las VegaStamps! images, a bit of MME paper, some TA Glimmer Mist, some Ranger Ink, a bit of Gauche Alchemy tape, paper clips, a doily, a binder clip, and the pages are made from unlined note cards. 


There's a Video on the May Arts blog going through each page. Or finish reading here to see the sets of pages and their supplies!

May Arts: Sheer Box Pleat
Tattered Angels: Inchworm Chalkboard 
Gauche Alchemy: lime green and white polka dot tape, turquoise striped tape
MME: LostnFound 2 embellishment and brad
Ranger: Archival ink in black
Other: Paper clip

May Arts: Satin Pleats
Tattered Angels: Inchworm Chalkboard
MME: LostnFound 2 cardstock punch and brad
Ranger: Archival Ink in black, Distress stain in broken china


Tattered Angels: Inchworm chalkboard, turquoise glimmer
MME: Lost n Found2 brads, paper punch
Ranger: Archival ink in black
other: paper clip


VLVS!: Don't follow your dreams, Line of chevrons, feed your soul, six hexagon background
May Arts: Silky Crush
Tattered Angels: Inchworm chalkboard, turquoise glimmer
MME: Lost n Found 2 Cardstock embellishments, button, brad
Gauche Alchemy: Punchinella (star)
Ranger: Archival ink in black, distress ink in broken china and peeled paint
Other: paper clip, floral beads

I'll link up to Paper Issues 

Adios!♥

Thursday, October 18, 2012

Updates!!

I know I haven't been posting much, but it's because I've been working on kits and design team stuff... plus designing TONS of stamps!

Here is some eye candy for you to feast on until I can share some of my top secret DT stuff!

This is a collage of the stamps I've designed over the past few months for Viva Las VegaStamps!
We do in fact collect artwork from a few different artists, but I am in the position to design stamps, as well! Here are a few of my favorites: