Showing posts with label green. Show all posts

Friday, March 13, 2015

Mon petit bonhomme by Ladybird

 
Hi everyone!
I have a layout to share with you today.
You will see that there is several ways to bring chipaboards with cut shapes to light.
 I am a great lover of stars for my boys layouts, so Um Wow Studio products are just perfect!
 You can highlight them by placing a gold or sparkling paper under them. 
As you can see, I did both for this layout :
I added a gold paper under the Star Peek-a-boo Tag (see below).
And here, I added a sparkling paper ribbon under the Decorate Hashtag from the Celebrate Hashtag Banners Set. This way, the word is totally revealed. I used the same trick with the ThisDay Hashtag at the top of the page.
Here are the products I used:
Some other brands used: American Crafts, Basic Grey and October Afternoon.
Enjoy your day!

Saturday, February 28, 2015

Libre by Ladybird


Today, I'd like to show you a little tip to add colour and texture
to your chipboards with a single operation!
In order to achieve the effect seen above on the leaves,
I used acrylic paint, a stampink block, black ink and a stamp.

Start by putting a few drops of paint on the stamping block.
Then, turn it upside down on the chipboards to add the paint on the chipboard.
As you can see above, when you lift the stamping block,
this adds some texture to the chipboard that seems to be
the natural design of a leaf in the nature.
Let them dry... then stamp the pattern of your choice over the paint!
I used a book background.

And that's done, you can use them on your layout... here is mine!
Some details.
 
For this layout I used:
Circle Confetti Chipboards
And also: Lucky7Factory paper, Rose Moka words, Basic Grey letters, Lime Citron stamps

Enjoy your week end!

Friday, September 13, 2013

Oily Cicada {an Altered Canvas by Riikka}


Today we're welcoming back RIIKKA with this beauty:


Riikka says "When I first saw this cicada bug chipboard, I fell in love. The shape is so captivating! So when I started to think what I should create for my guest post, I immediately thought about the bug and wanted to do a canvas using it. In my mind I saw the bug having black, oil-like surface that would shimmer in the colors of the rainbow on a surface of ephemera.


I painted the cicada bug first with black Plain Jane mist and let it dry. On top of the black coat I then misted bright Glimmer Mist colors knowing that only their colorful shimmer would show in the bug because of the black. I also wanted the shape to have a glossy, slightly crackled surface, but was all out of crackle paint. So I embossed the bug twice with embossing powder and while the second coat was still hot, I pressed my crackle stamp on it creating a subtle crackle effect. The surface looks almost like crocodile skin!


For the background I used various ephemera and leftover alphas together with a few arrow shapes form UmWowStudio. I glued them to a canvas base using regular glue and then spread gesso all over. After the gesso had dried I used Glimmer Mists to color the surface in blues and greens. I also added touches of black and white mist. Lastly I added some splashes of mist and pencil doodling to the background and mounted the cicada using a decorative needle.


I'm so honored to have a chance to guest design for UmWowStudio! Thank you for the opportunity!"


RIIKKA.. thank YOU! This piece is amazing and I'M the honored one -- I get to share your beautiful work using our products! Stay tuned for one more post this month from Riikka in CARD form :). Please leave her some love and let her know how much we appreciate her work! 

Wednesday, August 21, 2013

In Her Hands It's Magic {12x12 by Miae}

This layout today is by Miae -- and just like Miae it's UBER fab!
 
 
Miae says : You know how kids love bubbles...something so simple yet endlessly entertaining, well I wanted to capture that sense of magic of seeing bubbles floating in the air. I used the Layered Circles and Layered Butterflies to help me along!


Using gel medium, I covered the circles in tissue paper, wrinkles and all, then added a little paint. 
 
 
The butterfly is covered with Deco Art Snow Tex and painted over with watercolors. 
Supplies:

Derwent Inktense 
Angora watercolors
Faber Castell Pitt Pastel
Faber Castell Big Brush Pitt Pen
Gesso
Snow Tex
Gel Medium

Friday, January 25, 2013

Blast from the Past!!!

Hello everyone :)


Welcome to the LAST stop on the Blast from the Past blog hop!! I'm so in love with all the projects that the team did using our oldie but goodie stamps, and I'm honored to have them all participate and use our images. Give them a big round of applause! Don't forget to comment on each post from the hop, as our prize winner will be randomly selected from one of the blogs :)

Now.. onto my project using a stamp that hasn't seen much love lately!

I had the lovely
to work with!


We recently hosted an altered mousetrap swap, and this is what I used her for! I pulled the mousetrap apart and gessoed all the pieces. Then I colored them with Tattered Angels glimmer mist and Distress Stain.
My stamp is stamped with Ranger's Archival ink in black and colored with Distress Markers. She's then fussy cut and glued to the mousetrap! Before I added any pieces back on I laid down some gel medium and inserted paper circles, e beads and floral beads.Then I glued the spring and trap back together, adorned it with a bit of paper and May Arts ribbon, and highlighted bits and pieces with Luminarte's silks paints!


Thanks so much for coming by!! If you missed any stops here they are again, and don't forget to COMMENT for a chance at the Plate O' Rubber of your choice :)
-

-

Thursday, January 17, 2013

Nat n Birgit Page!


I haven't been doing much for ME lately.. and when we ran into Louise Nelson at CHA she said "You HAVE to make time to do your OWN stuff. Not for publication.. not for DTs.. for YOU"

So the day before yesterday I had a few pictures printed, and last night I got to work on putting them into my journal! I love the size of this journal, and you'll find the "style" very repetitive in it.. because the paper takes ink and gesso SO WELL. 

Here's the first of many to come! 


I started off with two bits of amazing punchinella by Gauche Alchemy. one large circle and one medium. I gessoed them onto the page with white gesso by Winsor and Newton. (You can see the circles better in the next two photos!) Then using a new technique I learned from Janna Werner during Creative Jumpstart I splattered some Glimmer Mist in Mustard Seed by TA all over my page. Rather than spraying with the bottle or splattering with the wand.. I sprayed into the cap of the bottle a couple times then splattered that.. it gave me some wonderful BIG splatters!

Then I stamped with Viva Las VegaStamps!' line of chevrons and lace fancy border in Ranger's archival ink. I added a bit of charcoal glimmer mist and then adhered my image down with Miracle Tape by VLVS!. I knew I needed some color to the right, so grabbed some start punchinella (also available from Gauche Alchemy) and inked it with four layers of distress ink. First was Shabby Shutters, then Peeled Paint, add some Mustard Seed and finish with a tiny bit of Black Soot. 


Add a bit of Washi Tape from Gauche Alchemy and stamp it with a date!


I did the tiniest bit of drawing around the edge, too. It helped wrangle everything inside the page. 

♥DeeDee

Tuesday, December 18, 2012

Tag Swap

I recently participated in a tag swap with a bunch of girls from the newest Design Team I have the privilege of calling myself a part of... The Crop Chocolate Design Team :)

Here is the tag I sent to my secret tag receiver :) 

It's made with Viva Las VegaStamps! images (handwriting background, chevron, holiday cheer), May Arts ribbon, UmWowStudio hat pin, Authentique paper, a vintage button, cheese cloth, and distress stains (Walnut stain, barn door, festive berries)


Monday, October 1, 2012

Introducing... Midnight Spell ♥

I'm very excited about this kit! It's a little Halloween, a little fall, a little dark, a little bright ♥

Midnight Spell


photo source: - | - | - | - | -

Sunday, September 23, 2012

VLVS! Blog Hop Day 1!!

I'm pretty excited to get to this! We've had this little baby planned for a while.. welcome to Viva Las VegaStamps!' All Hallow's Eve party!!


We've got seven days of inspiration from each designer on the team and you're bound to find SOMETHING that inspires you to get in the mood for Halloween!! 

We're also giving your prompts each day to earn a spot in a drawing... because each day we're giving away a fabulous prize! 


For the inspiration the DT and I have the criteria of doing some Halloween based project with at least one stamp from one of the two following boards:
 or 


And here is my first project!! I've been working scene stamping, and gotta say.. I'm loving it! My tags aren't over the top with embellishments, but I think with scene stamping instead they feel more... rustic sort of. And just as cool as embellished tags!

 The stamps I used are:


The background was made with Shabby Shutters and Peeled Paint distress ink on a white #8 tag. I also used Walnut Stain and Archival Black ink by ranger. I stamped the boy and dog on kraft paper in Archival ink as well. The burlap string is courtesy of May Arts.

Now absolutely be sure to keep hopping and follow today's prompt for a chance at the prize!!

Thank you!

Tuesday, September 11, 2012

The Color Room #127 - Feed Your Soul

I've just entered my first color room challenge.. I'm VERY excited!!

I felt like I was working "out of my comfort zone" the whole time but holy wowza at the end it sure is beautiful!!!


I love the background especially.. I used a huge dry brush to get the effect... run it across your distress stain ink pad (In this case it's the festive berries seasonal one) and spritz the brush ever so lightly with water, just to give yourself some fluidity. Then stroke the paper! After it was dried I also puddled up a bit of the ink and splattered it up the top at an angle from the paint brush strokes and across the bottom left corner. 


One of the prompts in the color room is black and white chevron.. which I don't have in any form.. so I created some using an arrow stamp from Viva Las VegaStamps!. 


Supplies used include:
Paper: Echo Park paper from Winterland and For the Record
Stamps: Viva Las VegaStamps! Butterfly Spotted, Feed Your Soul, Chicken Wire and Arrow
Ink: Memento Black Tuxedo, Festive Berries Distress Ink
Other: Floral Beads, Spellbinders floral die, circle punch, American Crafts brad, Globecraft Memories chipboard piece, Miracle Tape by VLVS!, black pen

Linking up to PaperIssues on 1/16/13

Thursday, September 6, 2012

Mossy Glen Sneak Peek #3

I think I missed a sneak peek day in there ;)

Also.. I keep taking photos at night and it's not helping this kit any!

rest assured.. it's the best one yet :D


Tuesday, June 26, 2012

Family - Journal Page #2 - a little history

(It's totally worth it getting through this post to the journal page!!!)

First of all.. I love Tim Holtz as much as the rest of the world (I think..) but I've found much more inspiration in other crafters (Sorry, Tim!!) ... two of them seriously astound me with each and every piece of work they produce. 


I've always been involved in the fine arts... then I went to school for Industrial Design.. trying to make sure I'd never be the "starving" artist my parents warned me about.. I messed around for a few months after college and then went home to mommy and daddy. Best decision ever.. a friend in college had introduced me to crafting with paper goods and adhesive.. while I learned about metals, woods, plastics, and other various materials and manufacturing processes from professors and industry professionals. 

So now under my belt I've got painting, drawing, ceramics and some graphic design from high school, a little bit of dabbling in paper goods from a very close friend whom I still hold dearly in my heart, and industrial knowledge from college. 


I arrived at home and promptly got a full time job at a local craft store.. got introduced to my father's secretary who is the DEFINITION of Crafter and then the red carpet of crafty goodness unrolled. Then crafting became a way of life for me. 

So now I've got all these experiences, wants, have to dos and haves and just IDEAS rolling around in my head. I've been collecting bits n pieces, spare parts, pop tabs, packaging, papers, embellishments, foreign coins.. you name it I've probably got a collection for it! But I couldn't necessarily make it work together FOR ME. 


these two ladies (whether they know it or not) have helped me put all the jumbled mess in my head into a neat and organized pile. That's the best way for me to explain it. Whether it was.. being unsure of myself, or hesitant to try something new.. I can't put words to it exactly.. but whatever it was. It's over. and I'm so happy! I've yet to meet Anna or Louise, but I'll be seeing Anna in California at the end of July. and I cannot wait to say THANK YOU in person. Louise -- girl -- you're next! The two of you just taking the time to share your work and be so supportive of others.. sharing your ideas and being so giving of your knowledge - it's just AMAZING. 

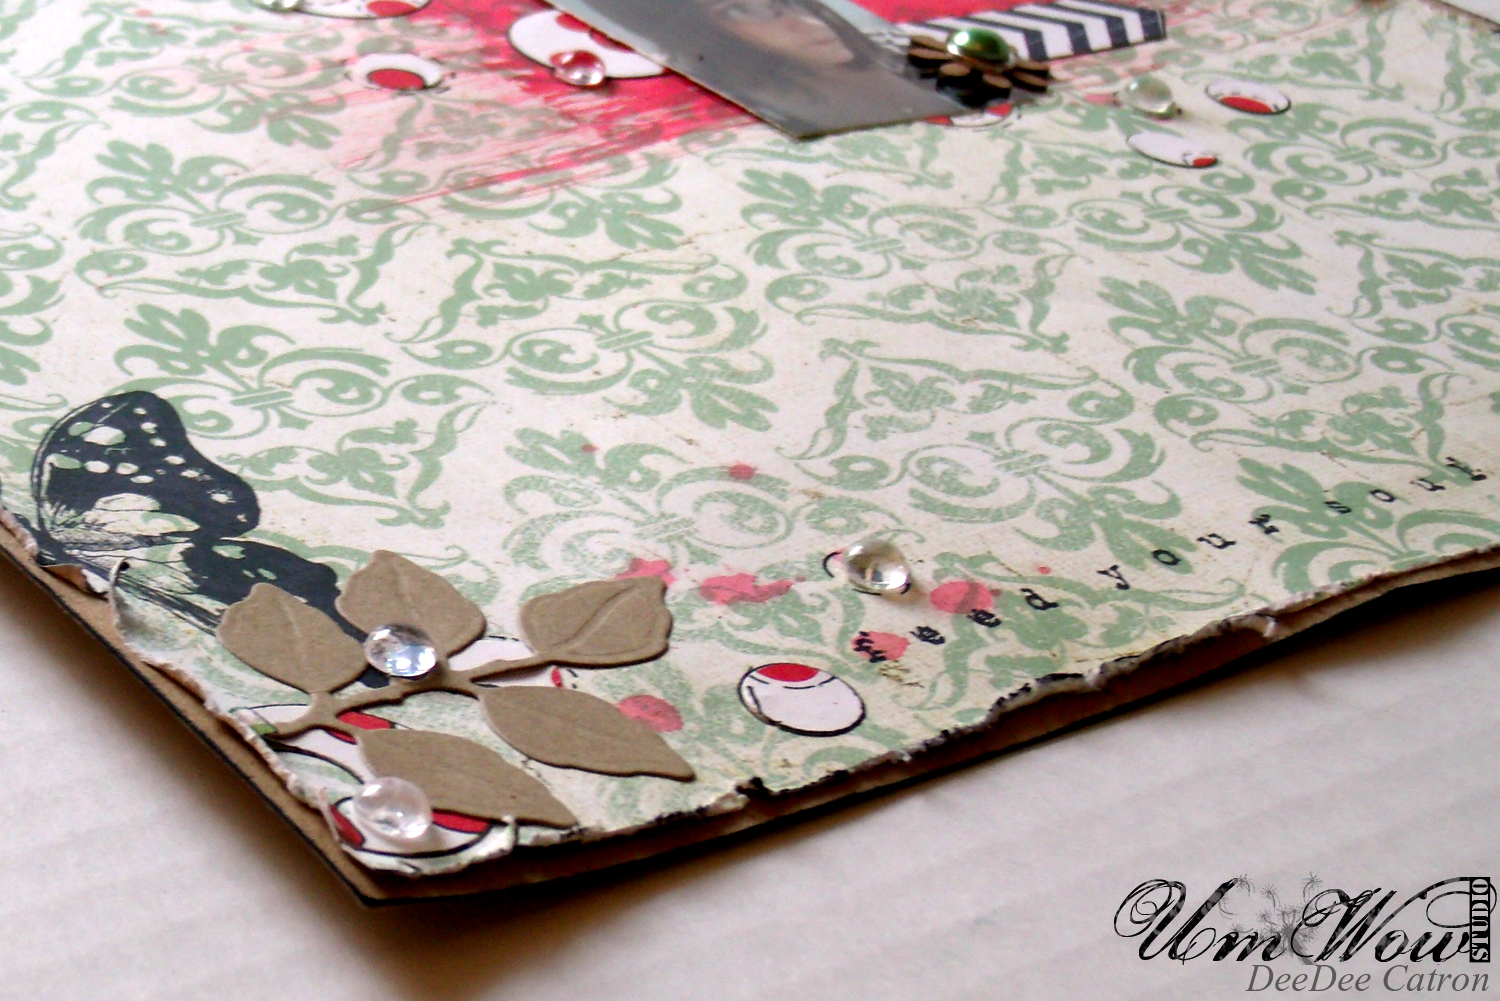
and here... after the last few years of crafting and being proud of my work but always slightly unsure and not really "me" is a page... that is at its fundamental core.. "ME" 


products used include: A Clairefontaine art journal, Inchworm and Charcoal tattered angels glimmer mist, tim holtz ideology clock face and game spinner, Imaginarium Designs chipboard, Gel medium, memento ink in tuxedo black, Viva Las Vegastamps! Feather stamp and Ultra High Gloss Embossing Powder, TH distress tool, diamond glaze, basic gray brad. 


I'm also really loving the no title necessary feel of these pages. =)

I'll link this bad boy up to Simon Says Stamp and Show for "distressed" - it may be minute distressing.. but it plays a huge roll in this piece. 

Saturday, June 23, 2012

"Inspiration"

Today I'm sharing my very first Art Journal page with you. 


I'll share more details about this guy on the VLVS! Blog tomorrow - but really I am so loving this art journaling business!!! 

Anyways.. products used: Distress stain in broken china, distress ink in mustard seed, broken china, vintage photo, pine needles and tumbled glass. Spellbinders die, corrugated cardboard, Viva Las VegaStamps! stamp, memento ink, baker's twine, floral beads, zig glue, water, a heat gun and a Clairefontaine journal. 


I'll be linking this up at Simon Says Stamp and Show as it's "a bit of brown" :)

Sunday, May 13, 2012

So Charming --

It's my first post over at the Hobby Baby blog today!! Be sure to check it out for all the details on this baby:


I'll also be entering the CropChocolate challenge from NSD "Altering" =D

Made with GlobeCraft Memorie's products, This and That Charming by Echo Park, + coordinating brads, distress ink in vintage photo, black tuxedo memento ink, hot glue, pop dots.